Parties

Our Frozen Birthday Party


For those who have been following, you know that we’ve been at this party for weeks (months, if you include all of the Pinterest planning). I know that some people (probably most) think that I’m crazy for putting in so much effort into “just” a kid’s party. But birthdays have always been a big deal to me. As a parent, you put all of yourself into raising these amazing little humans, so I think it’s important to celebrate them once a year. Take one day out of the year to let them know how awesome you think they are. Pour as much love and positive energy into them while you can, so they might be able to stand up to a world waiting to tear them down every chance it gets. Throw them huge parties, because one day all too soon, they will grow up and not want to spend their birthdays with you. One day they will become pre-teens and want a “just friends” party. The way I look at it, I only get about 10 birthdays where my kids are going to want me around. Out of an entire lifetime, I get 10 measly birthdays. 12, if I’m lucky. So yes, I will go balls to the wall for my 4 year old because it’s important to me and it matters to her.

Since our kids’ birthdays are 6 weeks apart and I had baby #3 in between their birthdays this year, they shared a party. Honestly, after baby #3 has her own 1st birthday (because I don’t feel right making her share her first birthday), they’re all sharing a party. Hope they grow up to like the same stuff.

This year’s theme was a cinch to pick because like every other little girl, my now 4 and 2 year olds are obsessed with Frozen. With it being a sister movie, it was even more perfect. We picked the theme super early, so I had months to scour Pinterest for ideas. My Frozen Pinterest board was full in no time. Editing is not my strong suit; I’m more of a ‘I want to do it all’ type. But since this is my 4th go-around in the kid party rodeo, I knew that it is impossible to do everything. I did manage to do quite a bit though.

We didn’t have enough seating for everyone, so I wanted finger food because it would be easy to eat. Our menu included:

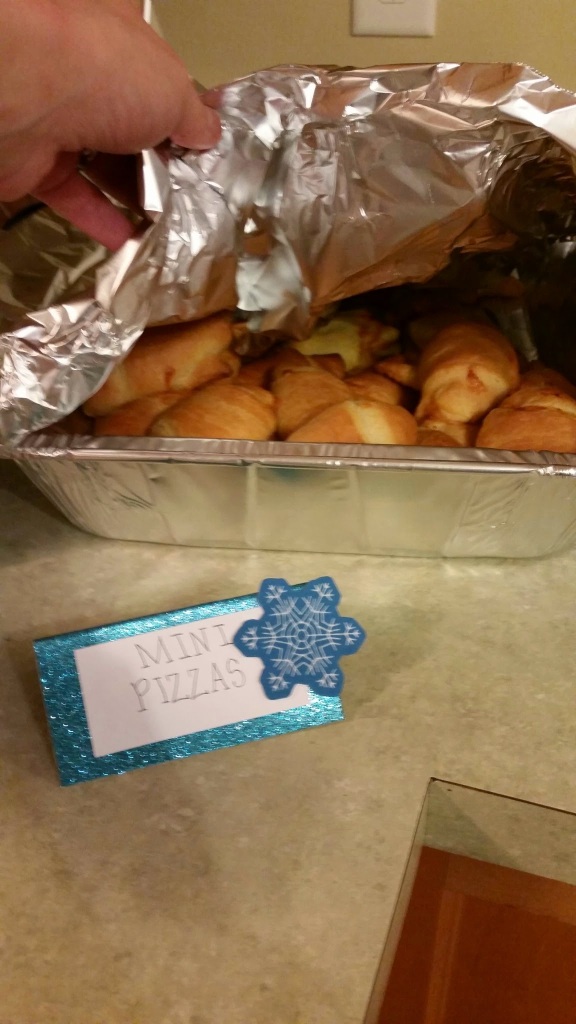
Mini Pizzas (although I opted to use shredded mozzarella instead of string cheese, and didn’t do pepperoni because Sam’s Club was out when my husband went shopping)

wpid-wp-1416977787231.jpeg


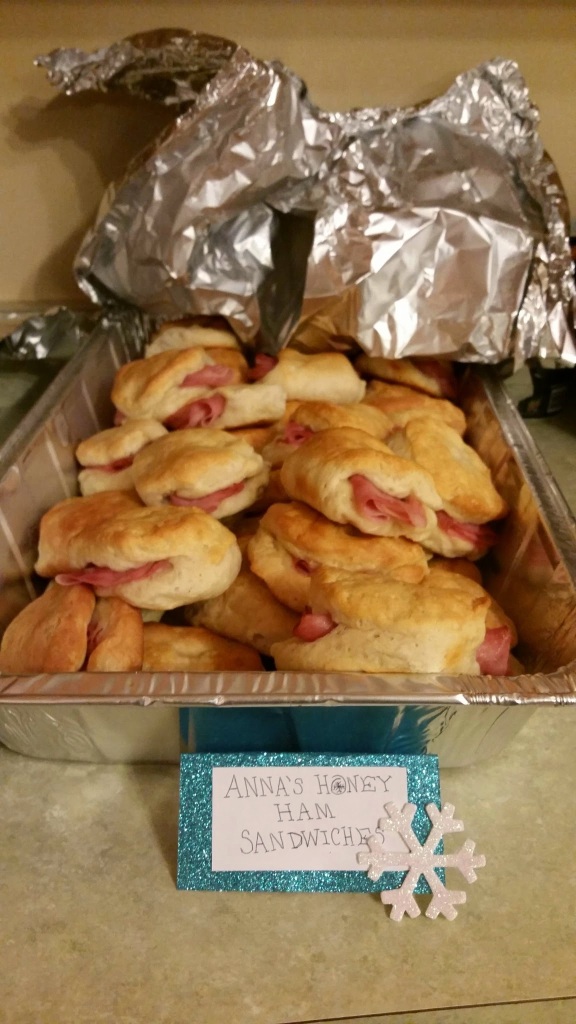
Anna’s Honey Ham Sandwiches

wpid-wp-1416977787535.jpeg

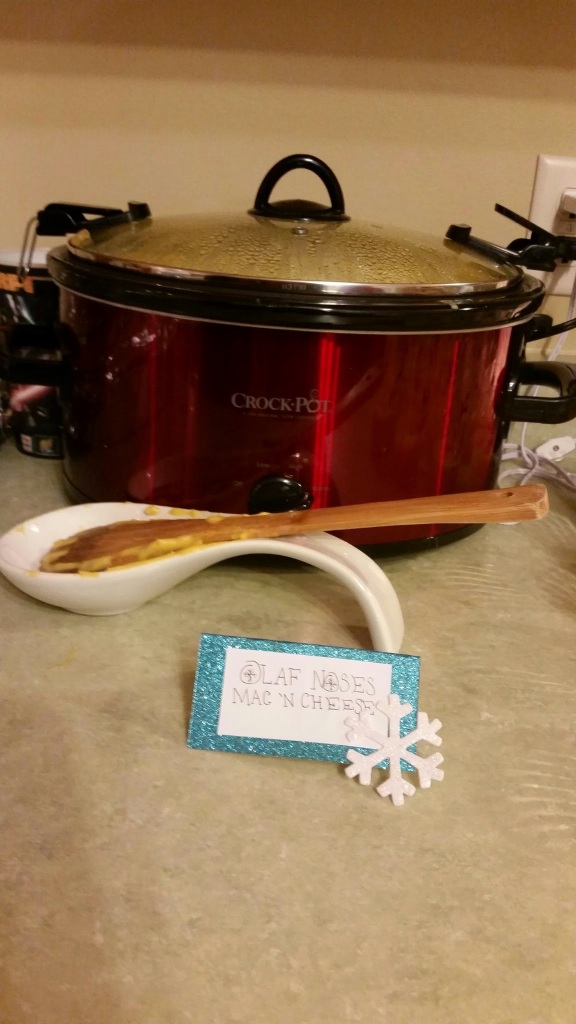
Crock Pot Mac n’ Cheese (our only non-finger food, but a must have at a kid’s party). Since it was elbow macaroni, I decided to call it “Olaf Noses Mac n’ Cheese”.

wpid-wp-1416977786912.jpeg


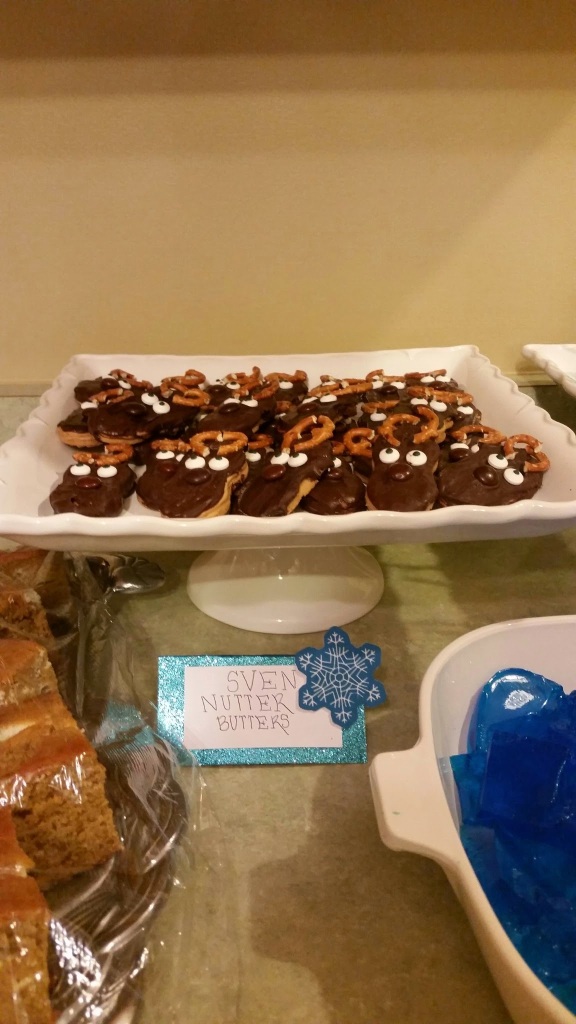
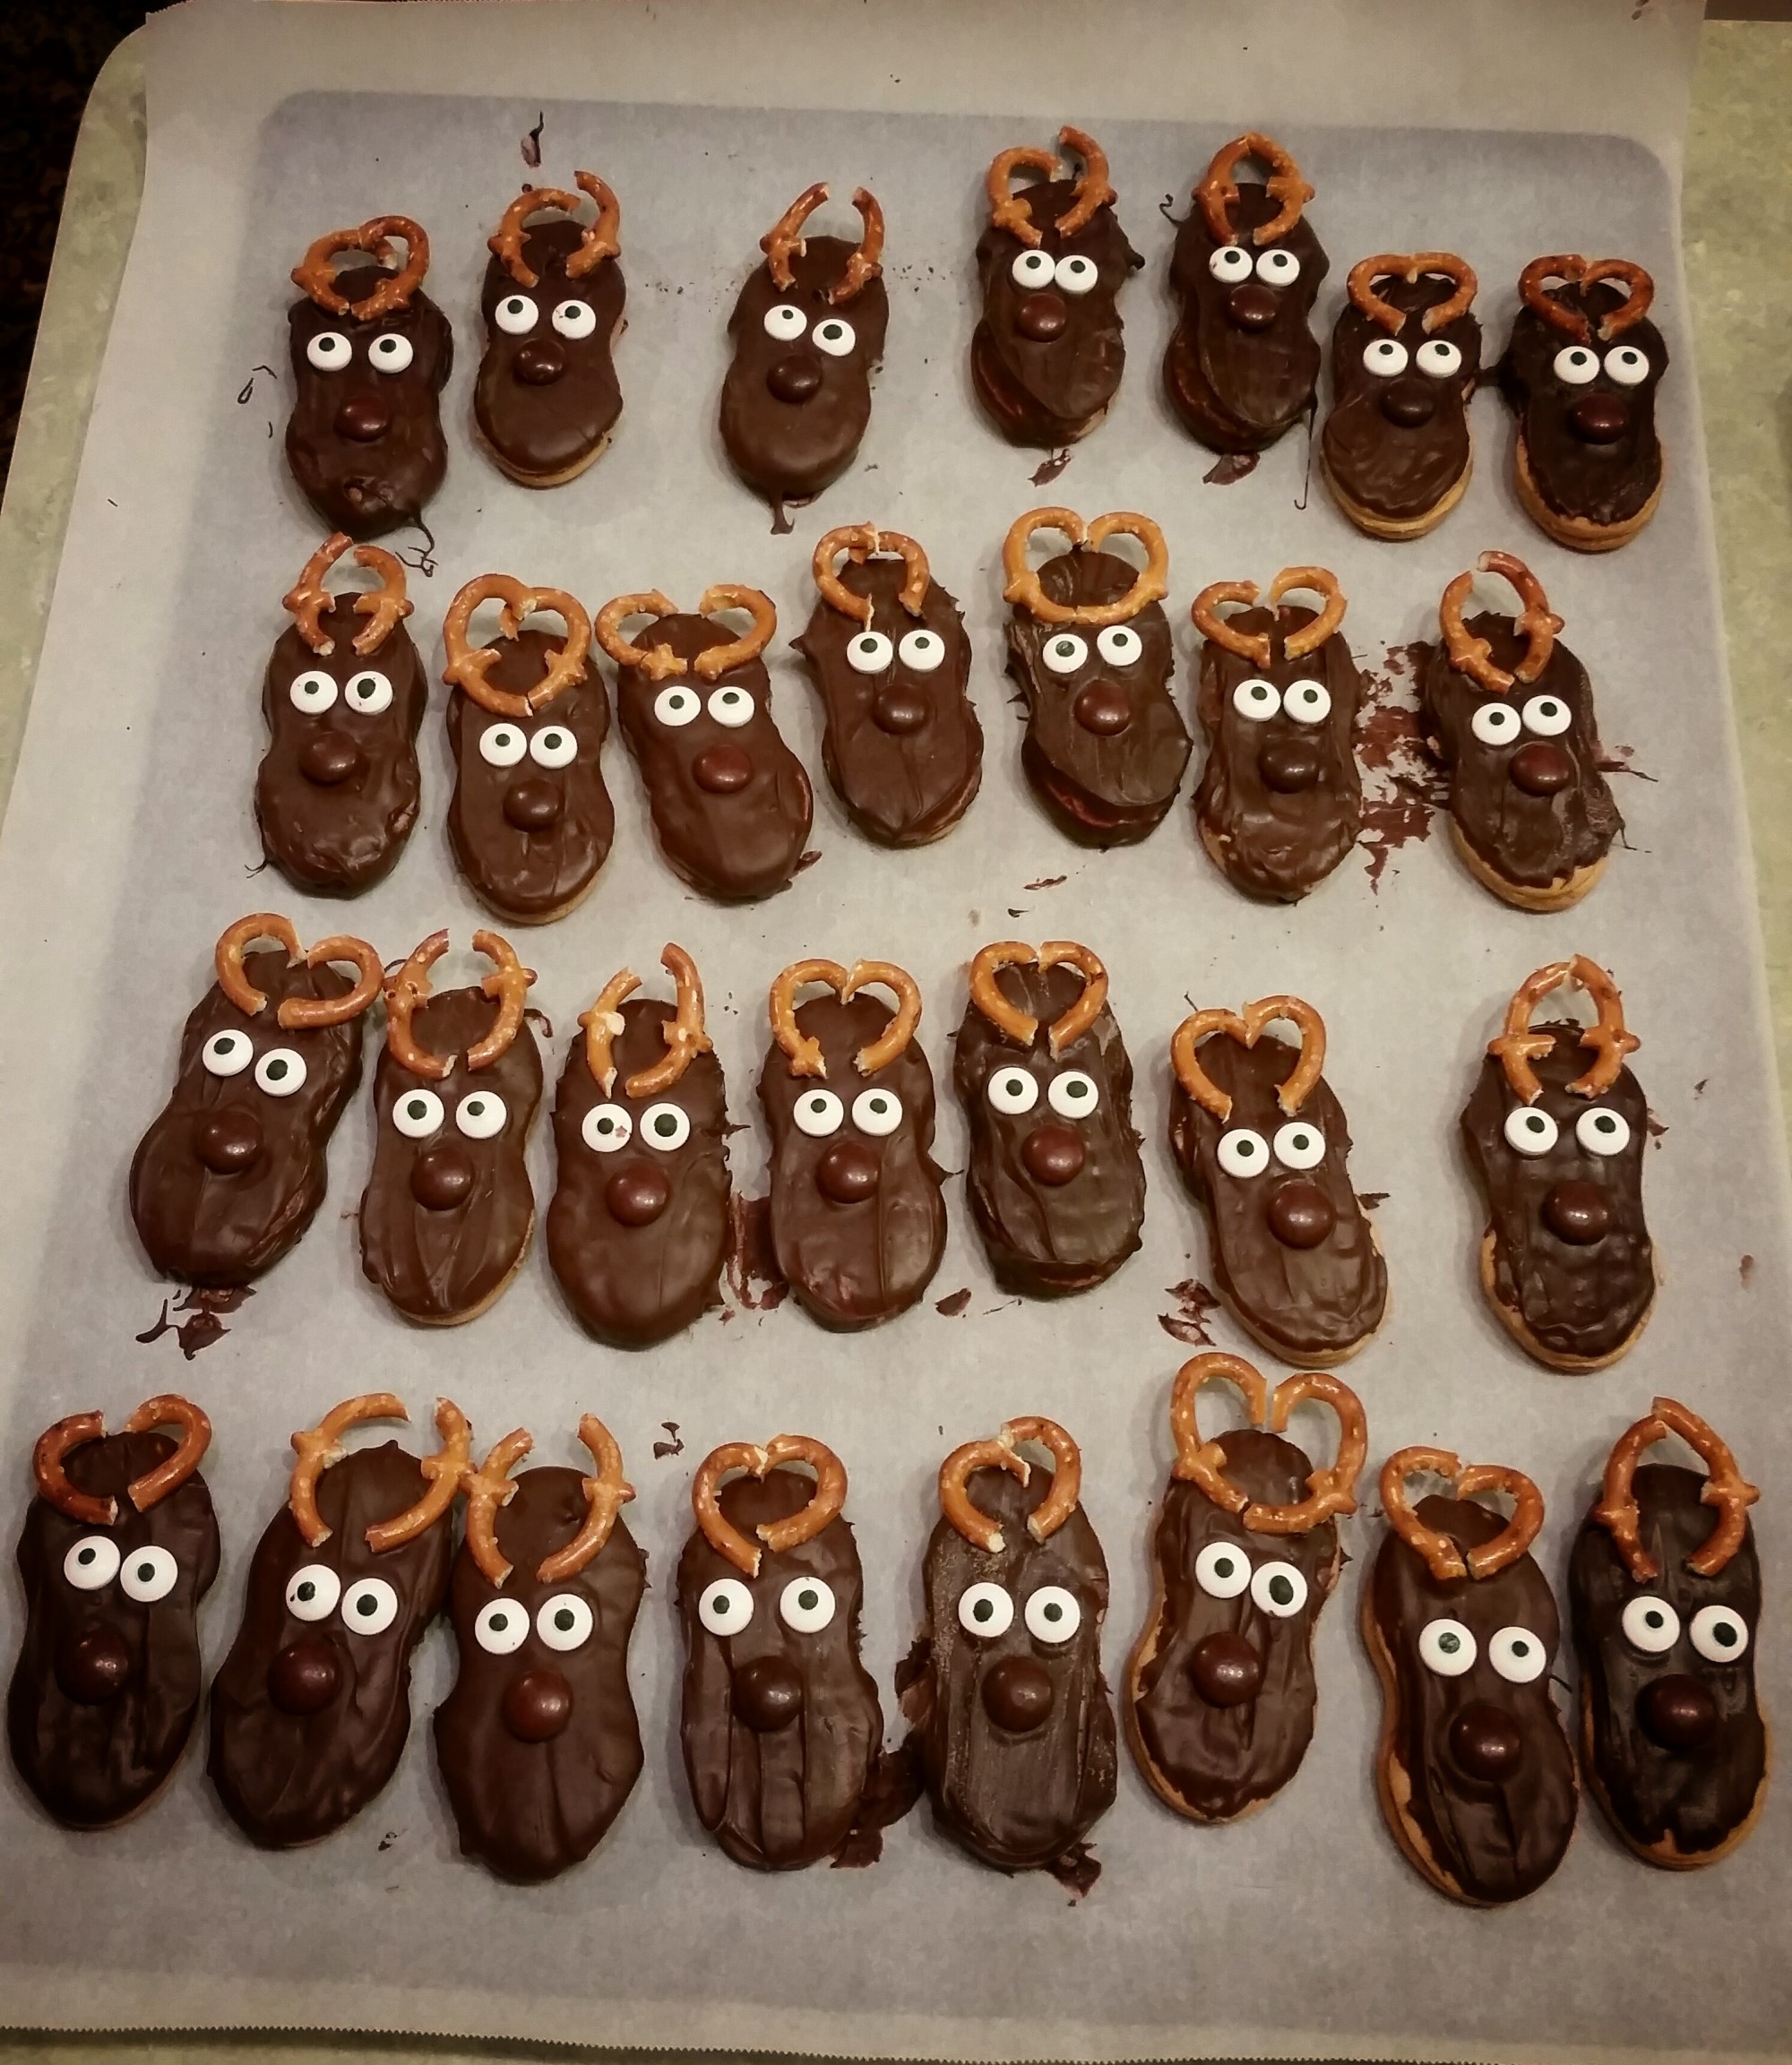
Sven Nutter Butter Cookies

wpid-wp-1416977786909.jpeg

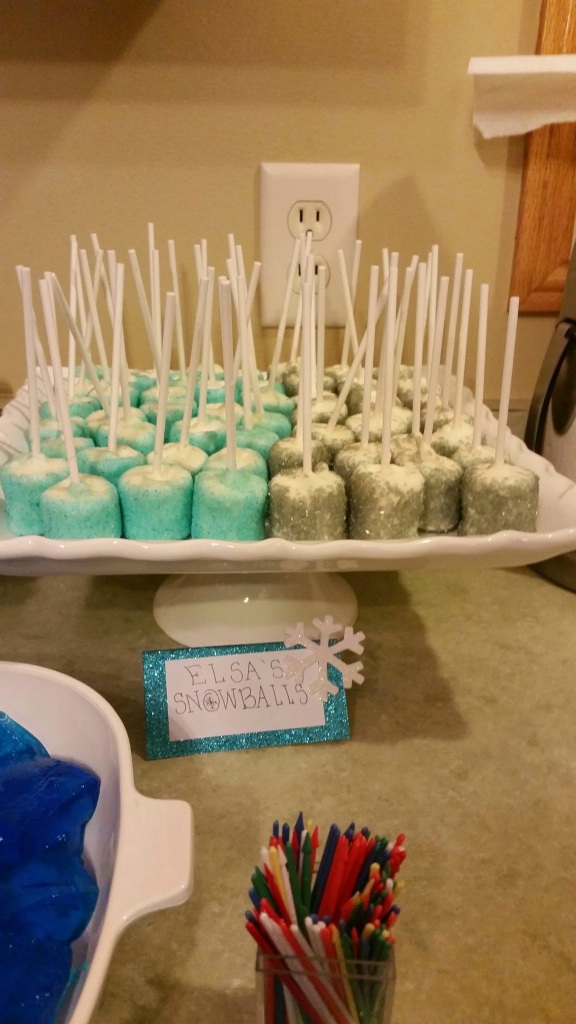
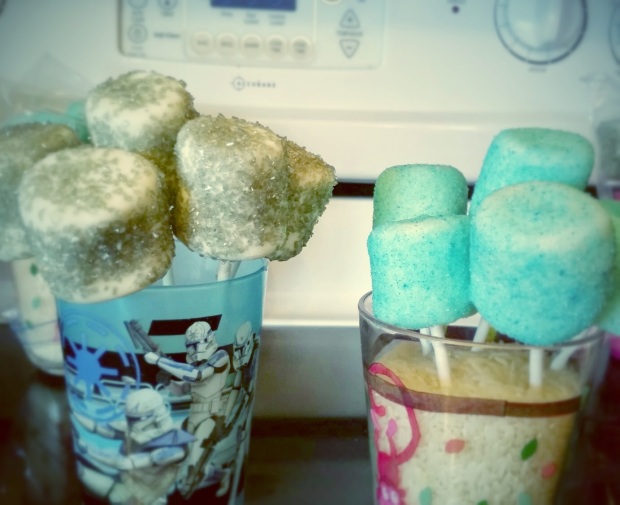
Marshmallow pops, which I called, “Elsa’s Snowballs”. Marshmallows were a must because Ary LOVES marshmallows.

wpid-wp-1416977785996.jpeg


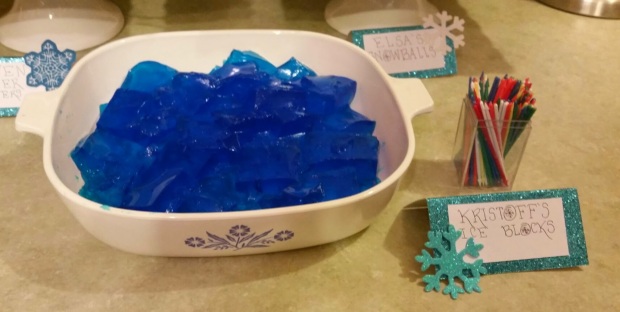
Kristoff’s Ice Blocks, aka jello squares. Unfortunately the jello didn’t set right; the squares fell apart when you picked them up. I don’t know how I managed to mess up jello; probably the fault of making it at 2 am the night before.

wpid-wp-1416977848782.jpeg

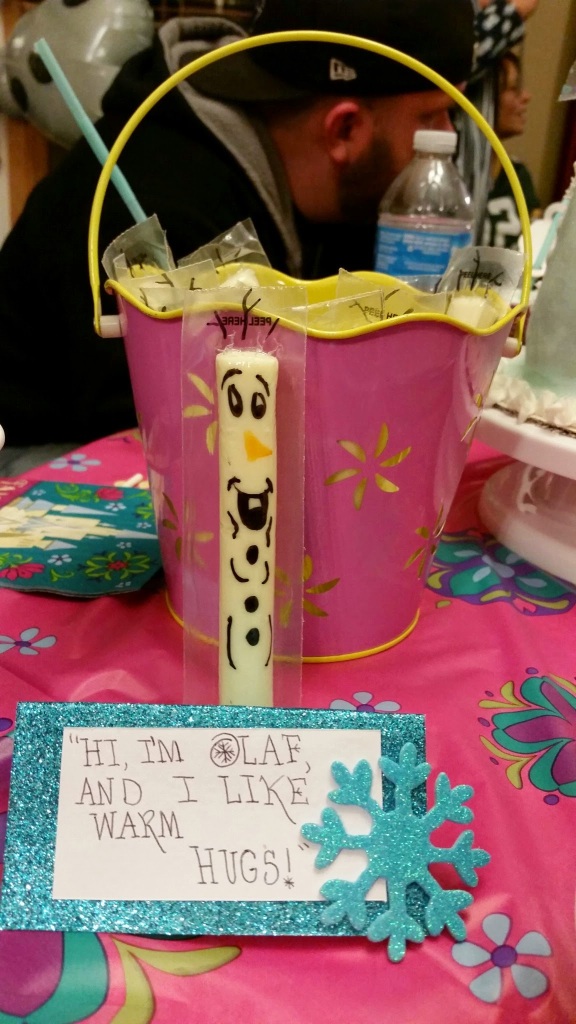
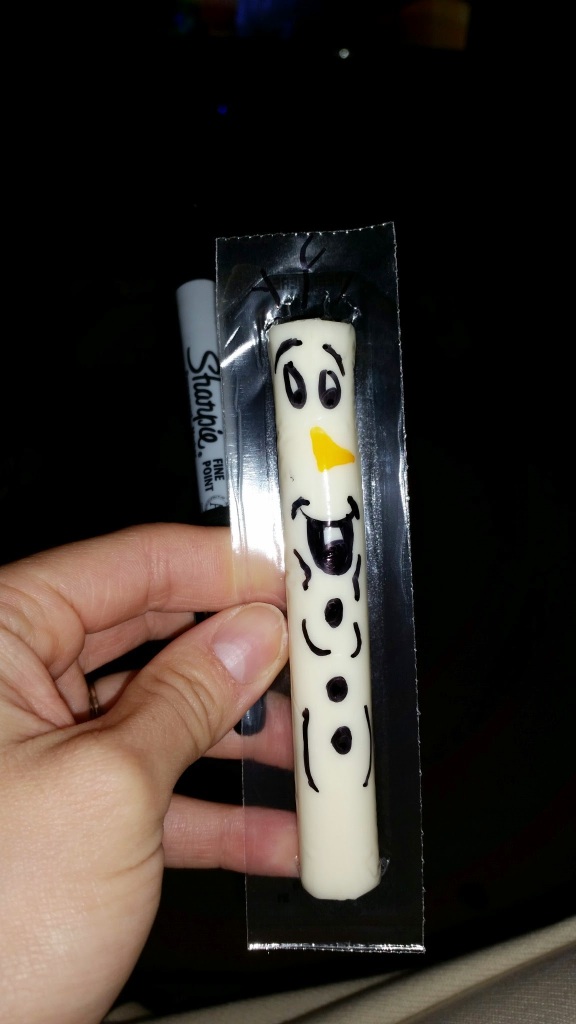
Olaf String Cheese

wpid-wp-1416977789694.jpeg

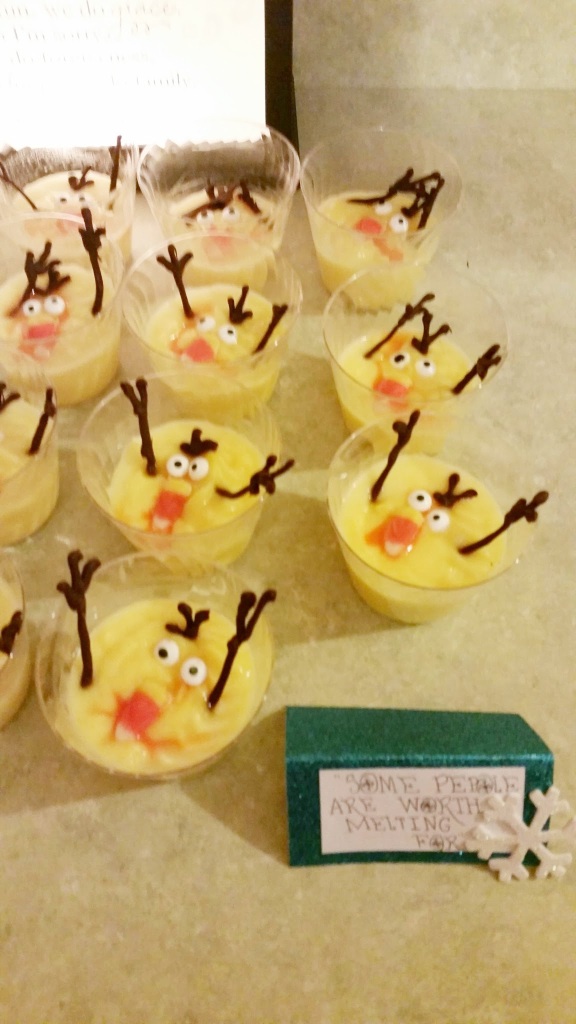
Melted Olaf Vanilla Pudding. Now, I am not a dairy eater; I’m allergic. I have never had pudding before. So when I saw this idea on Pinterest, I wasn’t concerned about the fact that it was just a picture without any instructions, because it seemed very straight forward to me. I piped his arms and hair piece with melted chocolate on parchment paper in advance, bought candy eyes, and candy corn for the nose. The instructions on the pudding box said that it would set up in 5 minutes, and we were out of fridge space, so we mixed them up hours before the party. To my complete shock, the pudding came out yellow! So, Olaf looked like he got peed on. I had no idea that vanilla pudding was yellow; I thought it was going to be white. After the party I discovered via Google that homemade vanilla pudding comes out white. Because I totally had time to make yet another element from scratch. But I was told that he still tasted yummy.

wpid-wp-1416977789110.jpeg

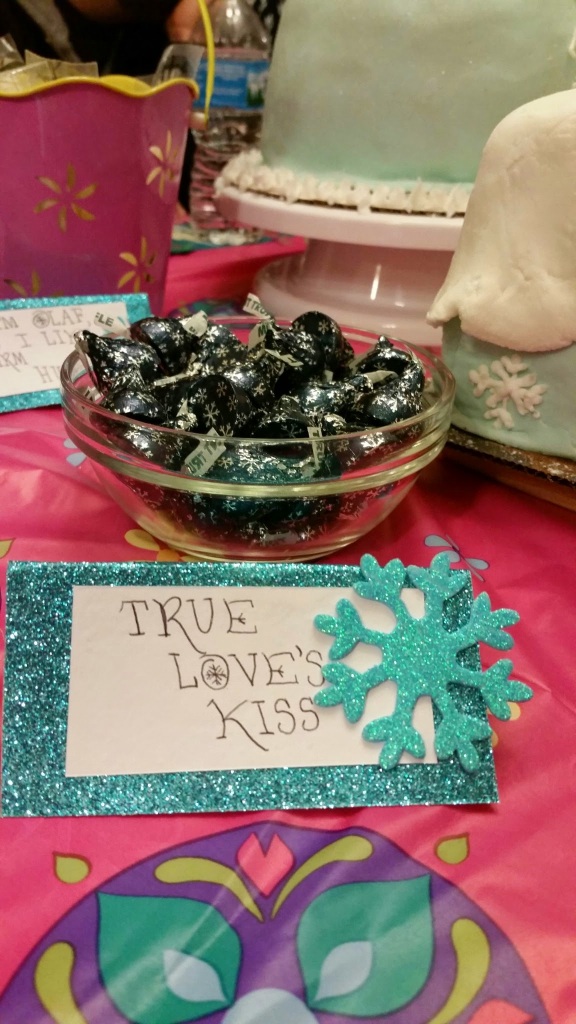
We also had Hershey’s kisses masquerading as ‘True Love’s Kiss’.

wpid-wp-1416977790155.jpeg

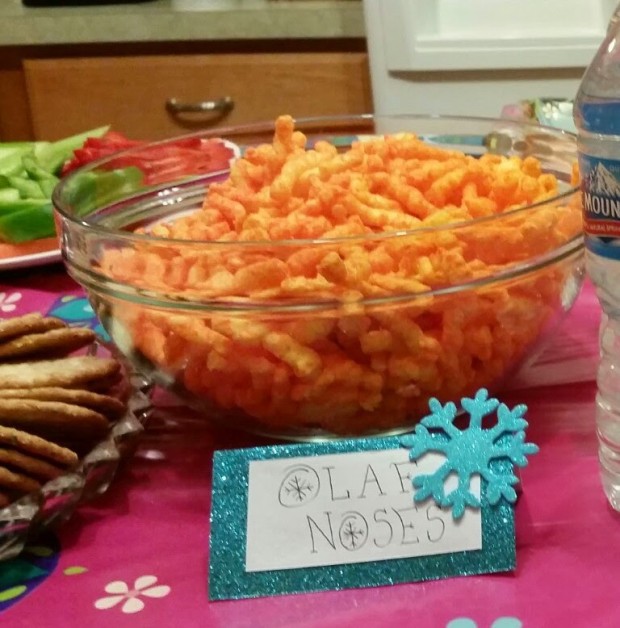
Cheetos were also caught pretending to be Olaf noses.

wpid-wp-1416977787963.jpeg

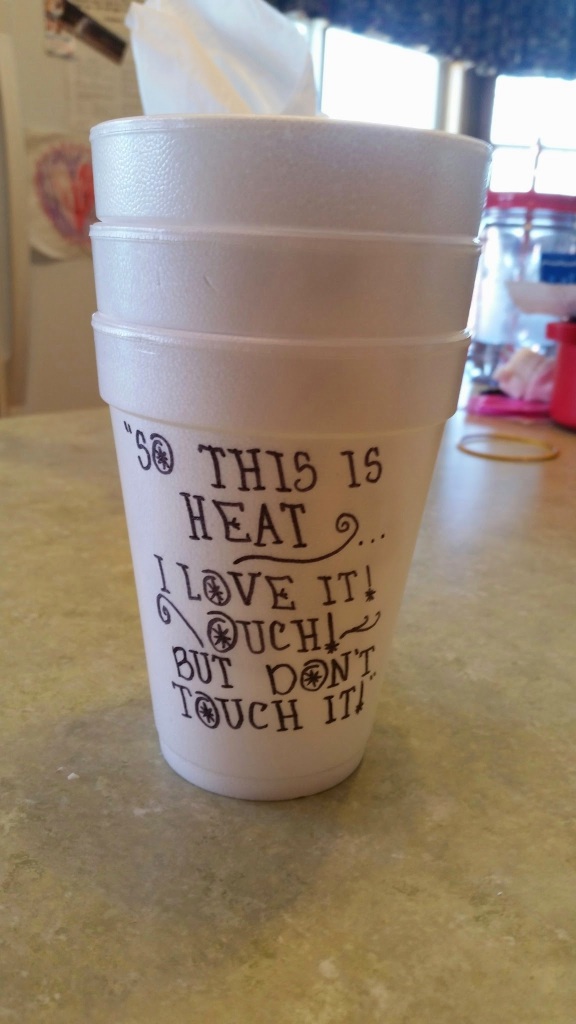
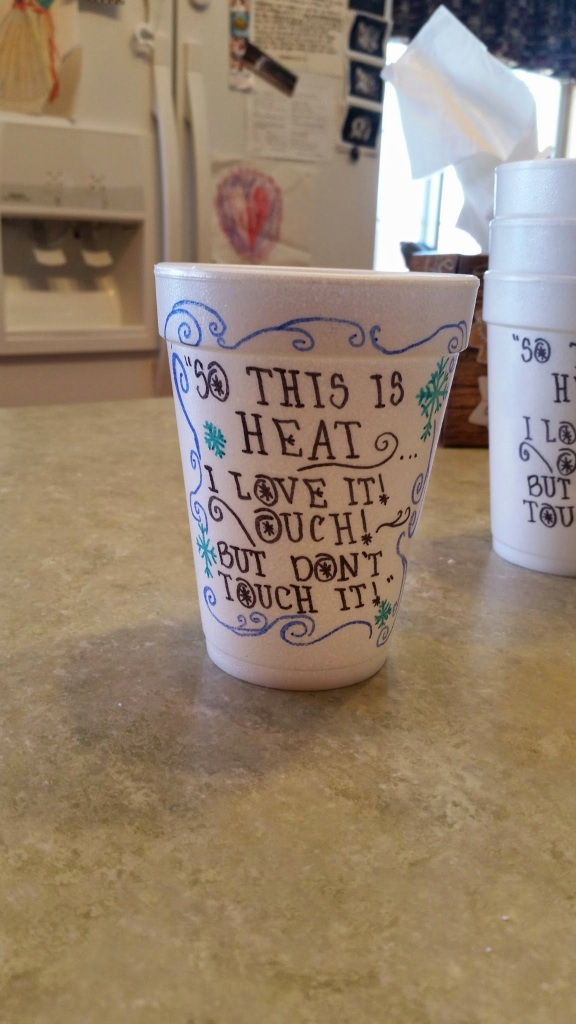
I kept it simple for drinks. We served beer and coffee for the adults, using my DIY disposable coffee cups.

wpid-wp-1416539402710.jpeg

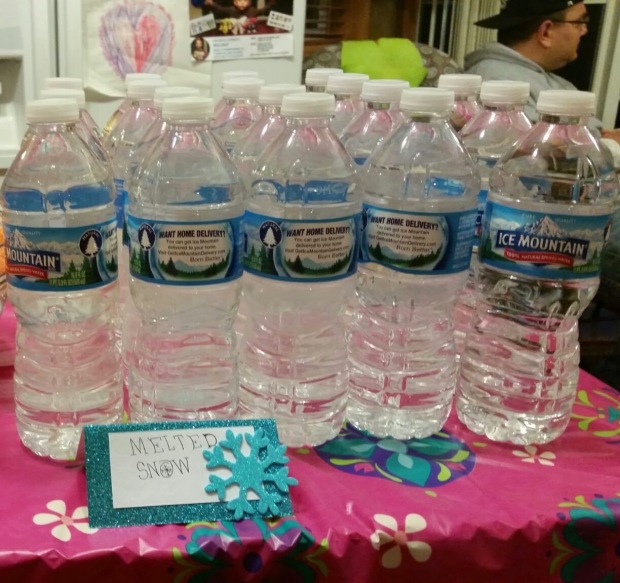
We also had bottles of ‘melted snow’.

wpid-wp-1416982602442.jpeg

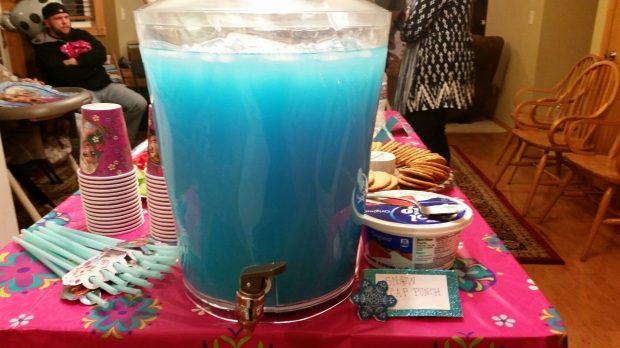
Our signature drink was Snow Cap Punch. We used half raspberry lemonade Kool-Aid and half Sprite, and threw dollops of Cool Whip on top instead of ice cream. This was a hit! Everyone loved it.

wpid-wp-1416977788757.jpeg

Decor was simple, but effective. We had Frozen tablecloths, cups, straws, napkins and plates which you can see in the pictures above.

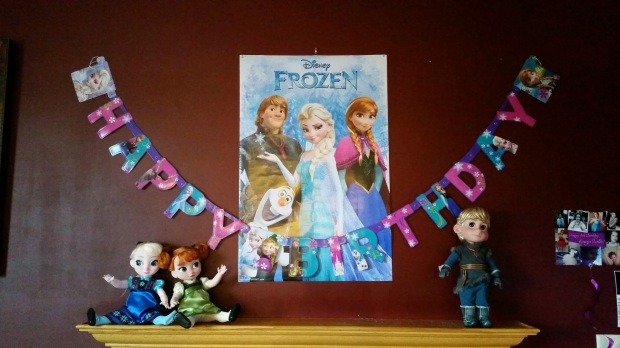
We stole one of the girls’ Frozen posters and their Frozen dolls and displayed them on the mantle of the fireplace with the ‘Happy Birthday’ banner I got at Target for $3 to create a lovely focal point.

wpid-wp-1416977790005.jpeg

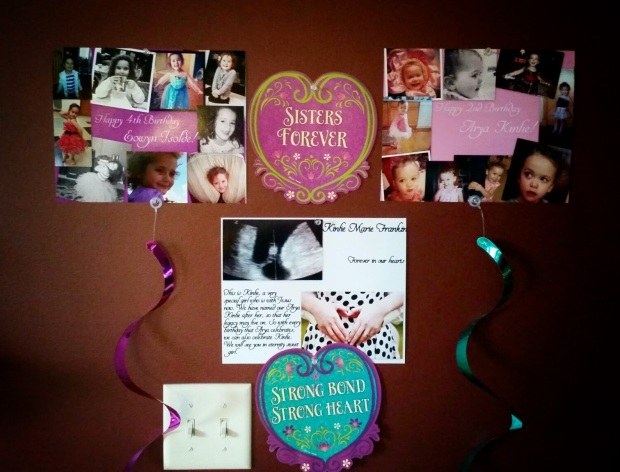
I put together collages for each of the girls, chronicling their last year. I also made a collage for Kinlie, who we named Arya after (you can read about that story in my post about Ary’s birth). We displayed all of them right next to the mantle, because people were most likely to see it there.

wpid-wp-1416977789950.jpeg

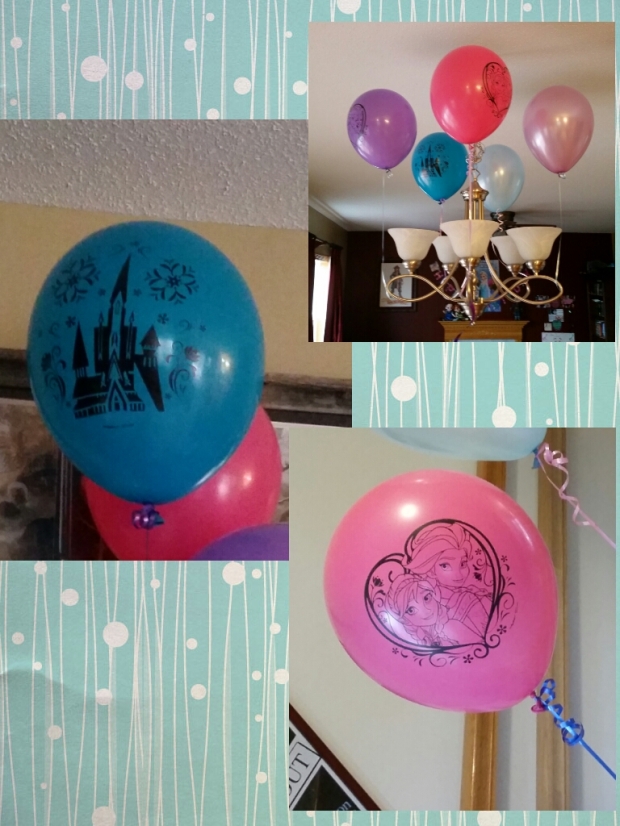
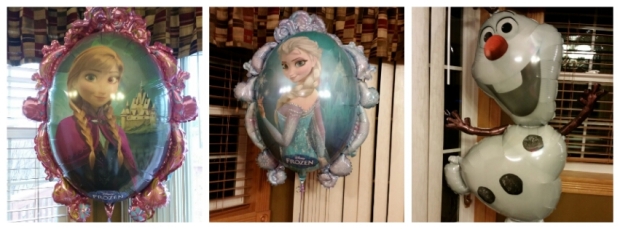
Party City has awesome Frozen balloons with images of Elsa and Anna printed on them, so I got a dozen of those along with a dozen solid balloons, and mylar character balloons.

wpid-wp-1416978397914.jpeg

wpid-wp-1416978036418.jpeg

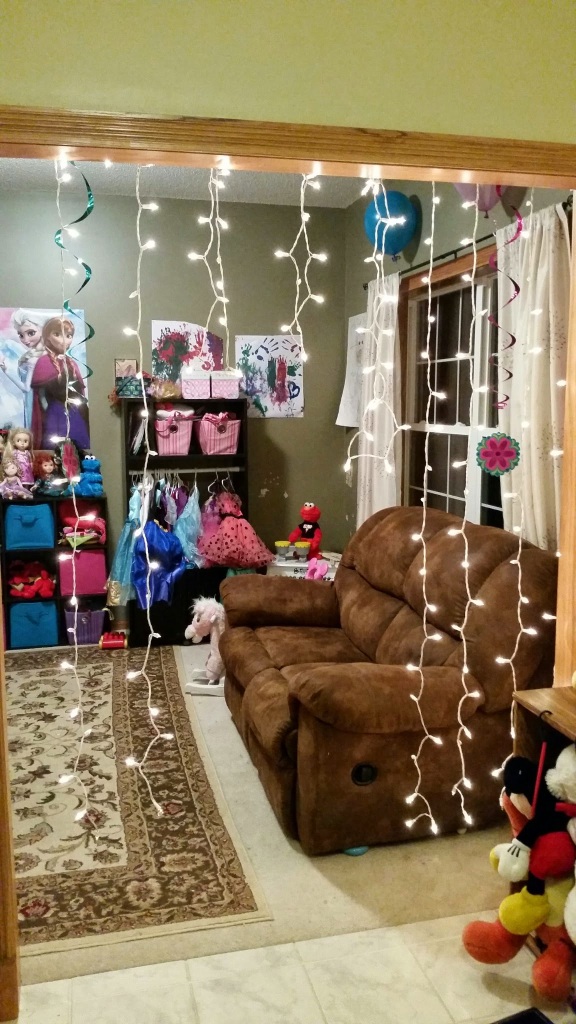
Daddy put long icicle lights in the doorway to their playroom for added whimsy.

wpid-wp-1416977785254.jpeg

I actually had too many games planned; we only got through 3 of the 5. But the kids had so. much. fun! The other two games weren’t needed. Better to have too much planned, then run out of ideas and have bored kids on your hands.

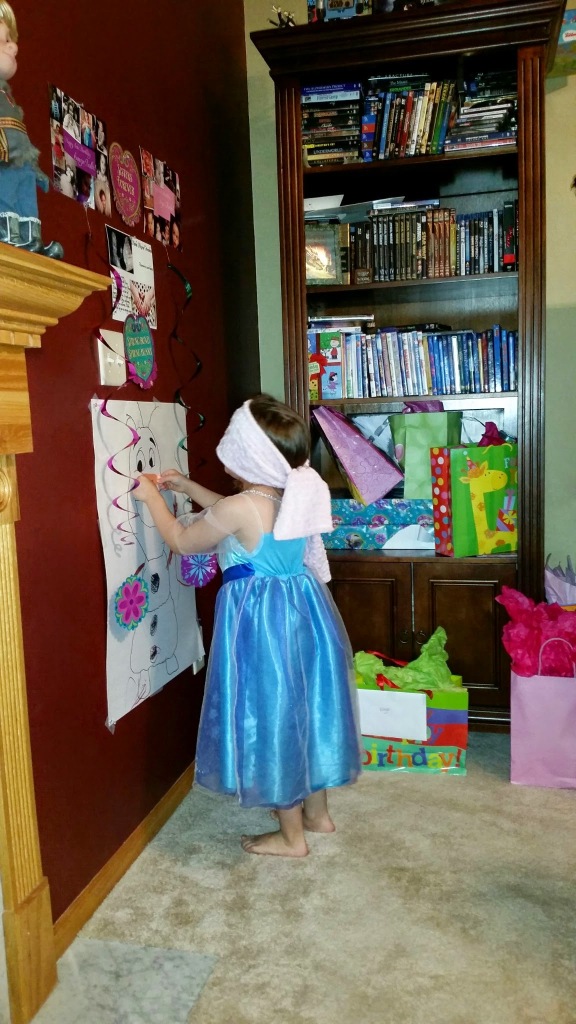
We started off with our ‘Pin the Nose on Olaf’ game. In retrospect, I wish I wouldn’t have been quite so cheap and had just splurged on the sticker paper for the noses. It was a little hard to get the noses to stick just right. But it wasn’t so bad that the kids couldn’t play. They had a lot of fun with this classic! Eowyn actually tied for the win : )

wpid-wp-1416977787001.jpeg


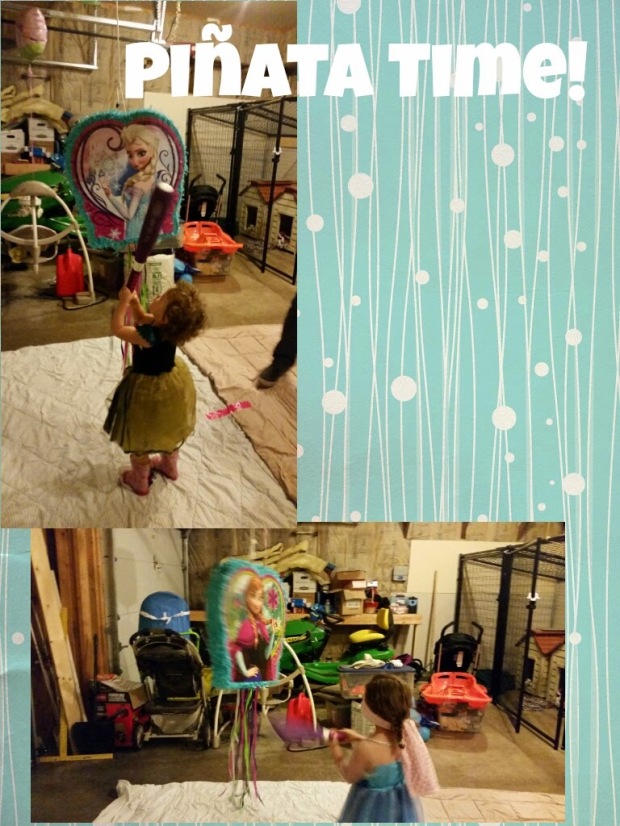
Next, we did the pinata. I found the perfect Anna and Elsa pinata at Party City for $15. After my disastrous DIY Pintrosity of a pinata, I was happy to fork over the dough for a proper one! Obviously, the kids loved this! I got the good candy too–Milky Ways, Snickers, Butterfingers. If you’re going to do it, do it right.

wpid-wp-1416977789905.jpeg

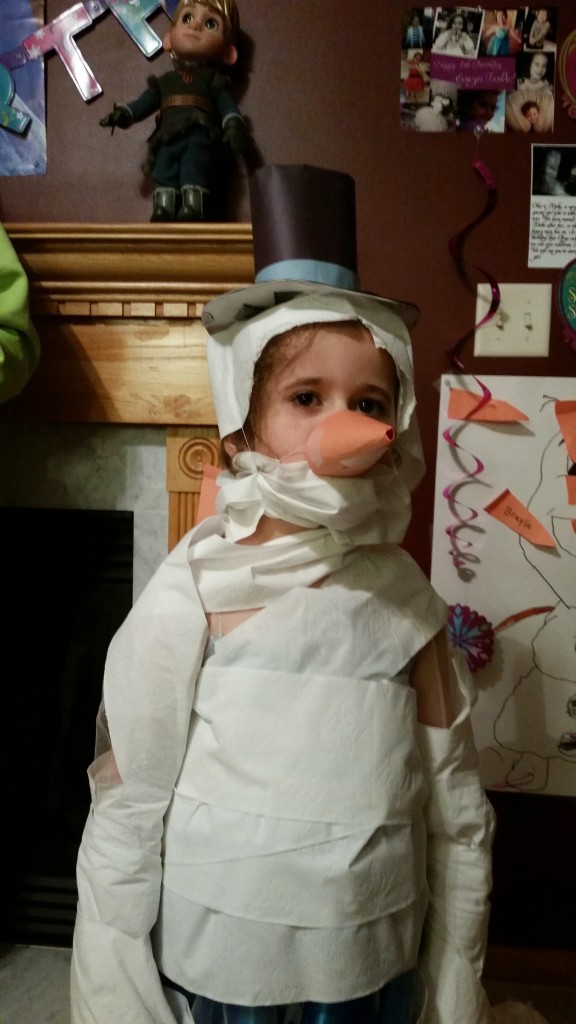
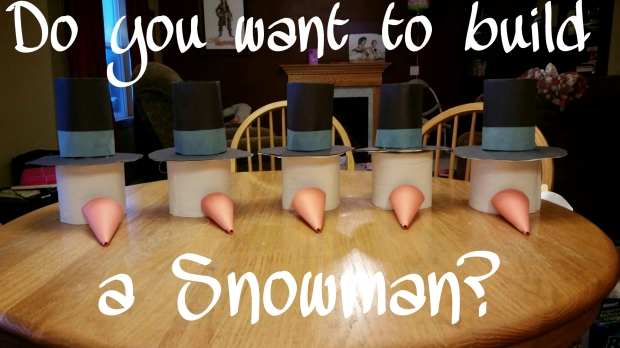
Then we did our ‘Do You Want to Build a Snowman’ game. The kids had a blast with this one! They all made super cute snowmen too : )

Eowyn the Snowman

Eowyn the Snowman

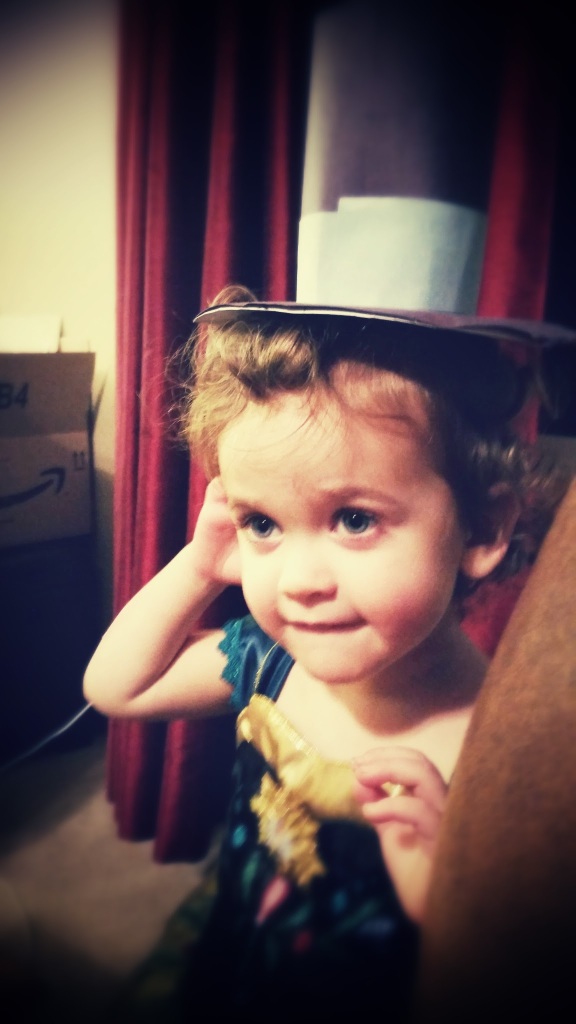
Ary only wanted to put the hat on

Ary only wanted to put the hat on

One of our other games, ‘Snowball Fight’, was not needed because the kids created their own snowball fight with the used up toilet paper when they were done building their snowmen. The living room was covered in toilet paper and exploding with laughter! I love that they were having so much fun that they created their own game. When they tired of throwing toilet paper at each other, I told them the only way they would get cake was if they cleaned up every scrap of toilet paper. They had that mess cleaned up within minutes!

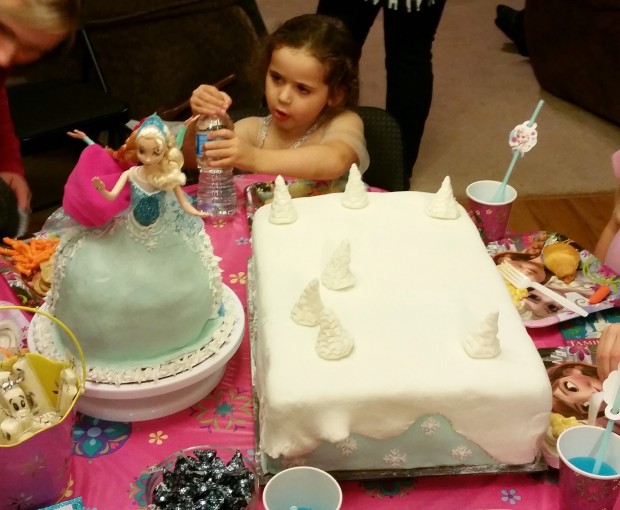
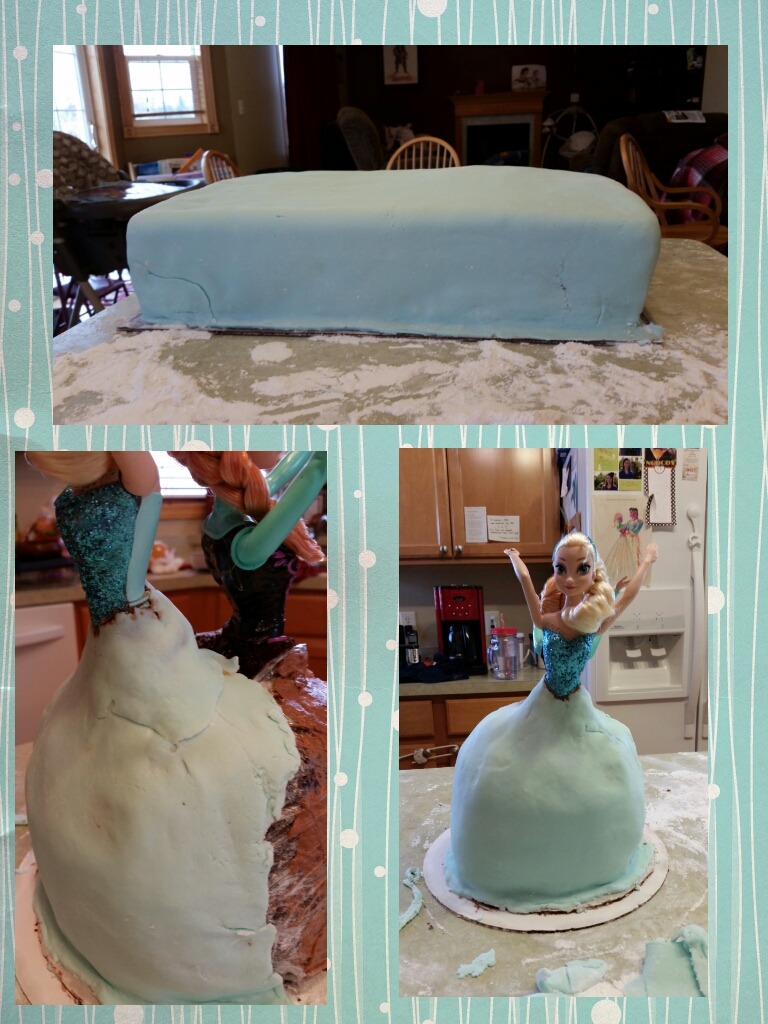
Our Frozen cake:

20141123_171038

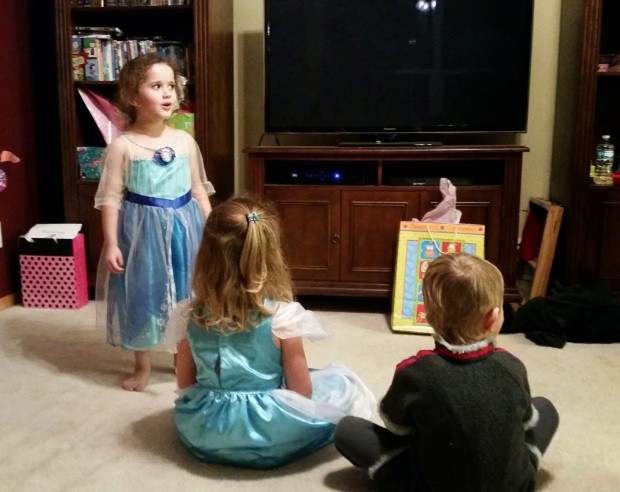
For weeks leading up to the party, Eowyn had been talking about putting on a show for her friends at her party. She tends to be shy in social settings, so I wasn’t expecting her to go through with it. In fact, when the house first started filling up with people, she came up to me and said, “Mom, I’m a little nervous. I think I wanted a small party; there’s a lot of people here!” After the initial chaos of people arriving settled, she got more comfortable and had a lot of fun. Since it was a Sunday and the party started at 4 pm, people started leaving after the cake. Eowyn ran up to me completely distraught, “But Mom they can’t leave! I didn’t get to do my show!” So a few family members and a couple of our neighbors stuck around to watch her perform. I could tell she was nervous standing in front of everyone (there were about 14 people, including Tyler and I), but she sang Let It Go. Because she was so nervous, she ended up forgetting quite a few lyrics and even skipped an entire section, but she did it! Poor thing cried afterwards because she was upset over the part that she skipped. But I was so proud of her. My husband and I are both actors, so we know how hard it is to get in front of people and perform. I am a shy person myself; it’s taken me my entire life to break out of my shell. I was so bad that I wouldn’t even talk to my teacher in kindergarten! I see so much of myself in her. So to see her be so much braver than I ever was at 4 years old brought me to tears. I could not have been any prouder of her than I was in that moment. She was scared, but she conquered her fear. I know that that moment was a defining moment in her life; that will be something that she will never forget.
wpid-wp-1416977786954.jpegThis party was worth every hour and penny that I put into it, because it made my kids feel special.

I had so much fun putting everything together! If you’d like to read the posts on all the prep work I did, here are the links:


Frozen Birthday Party Prep: Sven Nutter Butter Cookies

I wasn’t sure if I was going to get these done because I got behind on the birthday cake (which still isn’t done). In fact, I had pretty much written these off in the back of my mind. But then my soon-to-be 4 year old came up to me while I was covering the cake in fondant holding a picture of Sven that she had colored in. “This is for you to look at when you do the cookies so you know what he looks like”, she said sweetly. When I looked at her excited little face, I knew I couldn’t scratch the Sven cookies. Even if it meant staying up later than I already have to, I was going to get them done for her.

Luckily, it didn’t have to wait until midnight. I found an opportunity while she was at dance: Ary actually took a nap and although Laurelyn was cluster feeding again, I figured I could do these while I nursed because I had successfully finished my marshmallow pops last night while nursing.

The cookies were a bit more complicated however, and WAY messier. I got chocolate everywhere: the table, the boppy, the baby and my clothes. I hate chocolate work. It really takes a special person because chocolate is tedious and more temperamental than a hormonal woman in her last month of pregnancy. The chocolate was getting all over my fingers, so then it got on the candy eyes because of course I didn’t grab enough paper towels before I sat down. Then I was in quite the predicament because my hands were full of chocolate and the baby was asleep on my lap; I had no way to get up without getting even more chocolate on her! I ended up licking off what I could and using the burp cloth to wipe the rest off.

Of course the baby woke up when I tried to put her in her swing, but I grabbed diaper wipes and extra paper towels for round 2. After cookie #2, I decided got lazy and started only dipping one side instead of the whole cookie. No where near as messy, less time consuming because there’s less chocolate that needs to drip off, and uses less chocolate, which saves money. It would have been best to apply the candy eyes with sterile tweezers, but I didn’t think of it when I was shopping. I found the best way to apply the chocolate was to pour it onto the cookie using a spoon while holding it upright. Pretty sure the chocolate wasn’t hot enough most of the time, but I couldn’t get up and down while nursing. This made the chocolate thick and it didn’t drip as easily. No problem; I just used the back of a spoon to gently wipe the excess back into the bowl.

Is my chocolate work perfect? Please–don’t make me laugh! But they resemble reindeers (I think), therefore look like Sven (to toddlers anyway). My kids loved them, which is all that matters. I might get fancy if I have time later (Ha!) and pipe smiles on them. But if I don’t get around to it, I still think these little guys are pretty cute.

image

Hopefully Laurelyn lets me put her down so I can finish this cake. It is quite a hot mess right now…

image

Frozen Birthday Party Prep: DIY Coffee Cups, Sven Hats, and Marshmallow Pops

In my Olaf Games post I mentioned possibly using some of the extra Olaf cups that I made to be used for coffee for the adults. As it turns out, we are expecting a whopping 15 kids at this party, so we will only have 3 extra cups from the Snowball Fight Game. But I really liked the idea of having disposable cups for coffee because it’s just easier to throw them away at the end of the day rather than have a sink full of dishes. So I chose to do the environmentally irresponsible thing and I picked up another $.90 20 pack of styrofoam cups from Walmart; sorry Al Gore.
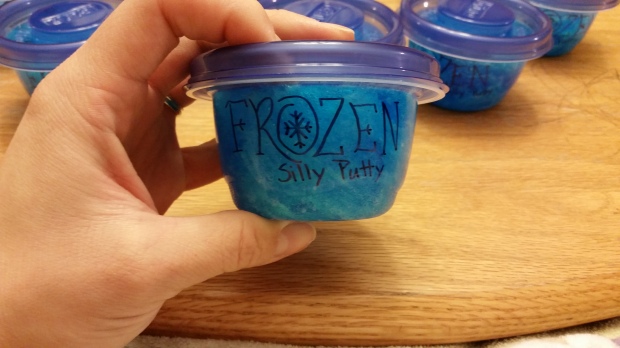
There’s no reason why the grown-ups can’t have fun cups too, so I decided to decorate them. Instead of drawing Olaf on these, I went with an Olaf quote written in a Frozen inspired font. Every time I sat down to nurse, I grabbed some cups and my Sharpie and made use of the time.

wpid-wp-1416539402710.jpeg

Since I’m an overachiever I tried adding a snowflake boarder with the girls’ blue Crayola washable markers.

wpid-wp-1416539403167.jpeg

I LOVE how they turned out. Unfortunately, the Crayola markers smudge when you pick them up. I am completely out of time, so I won’t be able to buy proper markers to do the boarder in. But I still think the plain quote is cute (I only did the boarder on 1 cup, so they’re not all ruined).

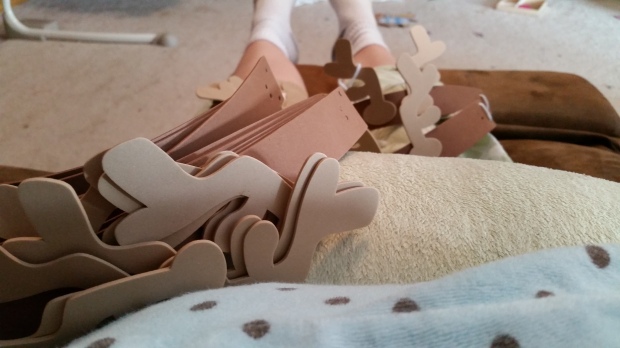
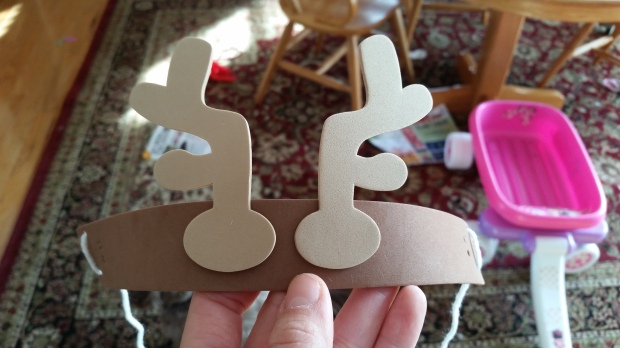
We bought pre made princess Frozen crowns for the girls to wear, but I wanted some kind of birthday hat for the boys as well. Luckily, all the Christmas stuff came out at the beginning of October and I found a ‘make your own reindeer hats’ kit at Hobby Lobby on sale for $3.60 (makes 12 hats). All the pieces were cut out and already had stickers on them, so I was able to slap them together during one nursing session (like I mentioned in my food tent post–multi-task or die!)

Crafting from the Couch

Crafting from the Couch

wpid-20141121_134922.jpg

Pardon the mess in the background, but I have 3 kids…

Sven hats for the boys–done!

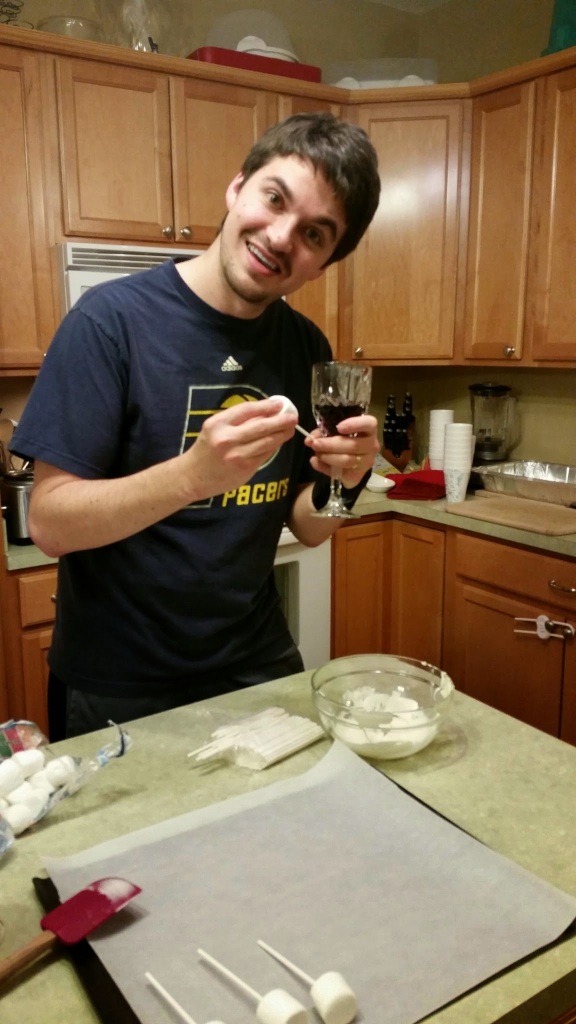
Arya LOVES marshmallows, so I knew I wanted to do marshmallow pops. After bedtime, Daddy helped me get them all on sticks.

wpid-wp-1416539403438.jpeg

…We drink wine at the end of the day. Don’t judge us.

I ended up making my own sprinkles by mixing regular granulated sugar with gel icing color. Before you go and roll your eyes at me, let me ask you–have you ever tasted Wilton’s sprinkles? They taste like ass. I’m not going to go through all the trouble of making these marshmallow pops just to cover them in sprinkles that taste like ass. So I took the 5 minutes to make my own. I had another brand of silver sprinkles in my pantry, so I decided to do half of them in blue and half of them in silver. I’m not a fan of candy melts because they’re so thick and (I think) difficult to dip in, so I chose to do white chocolate. I only got about a third of them dipped so far, but I think they turned out pretty well.

wpid-wp-1416540734838.jpeg

I let the girls taste test a couple and they approved, which is all that matters : )


Now, I’ve got to get back to the cake, which is in desperate need of decorating.

Frozen Birthday Party Prep: Food Tents

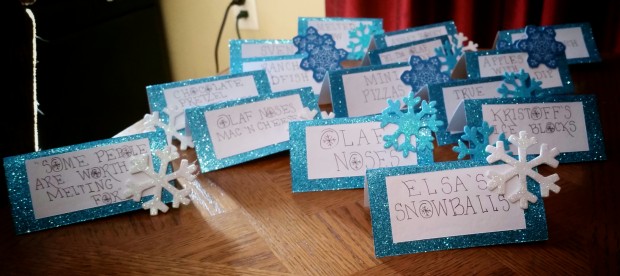
I love food tents. They’re practical because they let guests know what you’re serving them so you don’t have to answer, “What is this?”, 50 times. Plus, they’re a great way to decorate. Food tables instantly look polished just by the simple addition of these little guys. Plus. they’re cheap. I spent a whopping $4.40 on the supplies for these (the stickers were $2.40 and the glitter paper was $1 per sheet).

They are super easy to put together too. Just take a 12 x 12 piece of scrapbook paper in your design of choice, and cut it into three strips that are 4 inches wide. Then cut each strip width-wise every 4 inches, so that you are left with three 4 x 4 squares. You’ll get a total of 9 squares from 1 piece of scrapbook paper. To make the tent, take the square and fold it in half. Then cut a 3 x 1.5 inch square from a solid piece of paper, write the name of your delicious confection on it, and glue it on the tent. You can add a little sticker that goes with your theme if you want, and then you have a food tent!

wpid-20141121_13464922.jpg.jpeg

I decided to go with a blue glitter paper for my Frozen food tents. Our printer is down right now, so I was forced to hand write them. But I actually had fun hand writing these in a Frozen inspired font. I stuck some foam snowflake stickers on them to add a little something special. For those of you who know me personally know that I have a one month old. Everyone’s been asking how I’m getting everything done with an infant and 2 toddlers. Here’s my secret–learn to do stuff while you’re nursing. I got all of these done (the cutting part too!) while on the couch nursing. Multi-task or die.

Speaking of multi-tasking, the baby is finally done nursing. Gotta strap her into my Baby Bjorn and work on the cake.


Until next time!


Frozen Birthday Party Prep: Olaf String Cheese and Silly Putty Party Favors

Today was a very productive party prep day. We got 3 projects done, which is a lot with 3 kids 3 and under! I’m putting the third project, “Do You Want to Build a Snowman” game, in it’s own post because it’s a tutorial.

I got the idea to draw Olaf on individual sticks of string cheese from this pin on Pinterest. It’s pretty straight forward–grab a black Sharpie and orange marker and draw the little guy on there! At first Eowyn was not into this idea, “But mom, that’s not safe for us to eat!” Once I explained that I would be drawing Olaf on the packaging and not the cheese itself, she was on board. I sat down with the supplies and banged them during a nursing session. Eowyn separated them and helped keep them organized, so she felt involved. Bam! We have some cute and healthy snacks for the kiddos (pretty much the only healthy snack I have planned. It’s a party; I say let them eat sweets!)

wpid-wp-1416365200526.jpeg

Next up was Frozen silly putty (also found on Pinterest). When I found this I thought it would make a great party favor, so the girls and I whipped some up. Ours came out a bit foamy; still unsure why this happened. But, still sticky, fun silly putty that I’m sure the kids will love! I picked up two 8-packs of small Gladware containers at Walmart for $2.60 each to package them in, and went the extra mile by writing “Frozen Silly Putty” in the Frozen font.

wpid-20141118_205343.jpg

The best part was making it with the girls. They loved mixing it and watching it turn into the sticky guck we all loved as kids.

wpid-wp-1416365960647.gif

To make enough for 13 containers, I had to multiple the recipe in the link above by 4. Total cost for this party favor was $11.37, or $.87 a kid. Not too shabby ; )

Frozen Birthday Party Prep: Do You Want to Build a Snowman Game

I got the idea for this Frozen inspired game from this pin on Pinterest. It’s a take on the old bridal shower favorite where you put guests in teams and have them make a toilet paper wedding dress on a volunteer model. However, I didn’t like the part where they covered the kids’ heads with the toilet paper; kindy creepy. So instead, I decided to make hats and carrot noses for the kids to put on with their toilet paper snowman “outfits”.

I Googled “how to make a top hat out of paper” and found this awesome YouTube video:

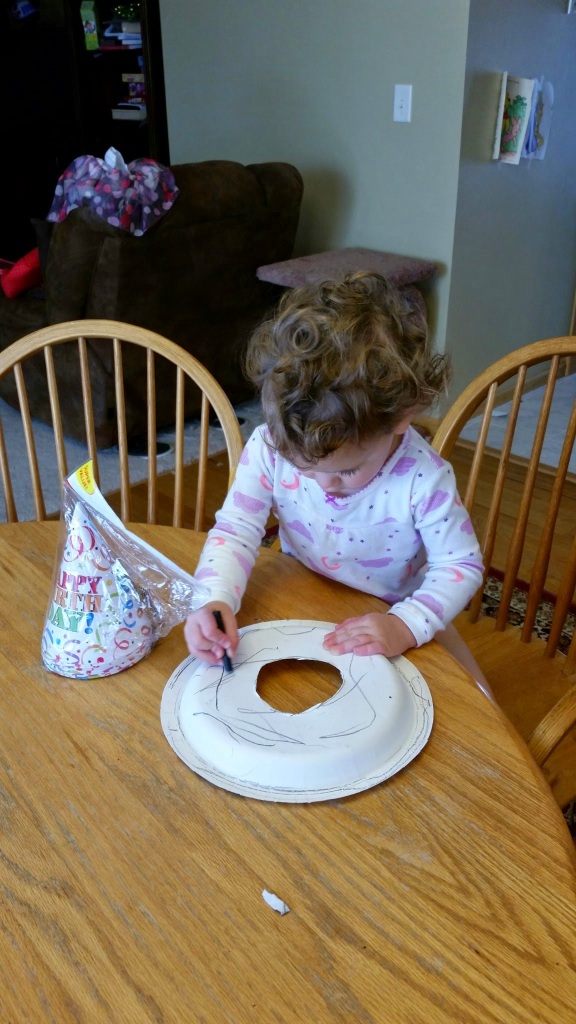
At first I was going to have the kids color the plates black like the woman did in the video, but soon realized that it was going to take too long.

wpid-wp-1416365193245.jpeg

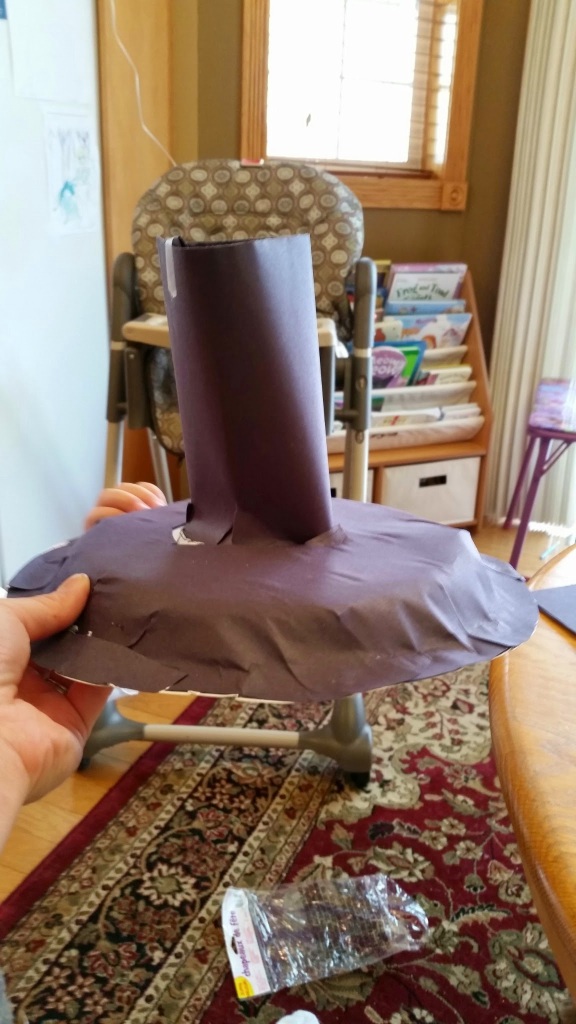
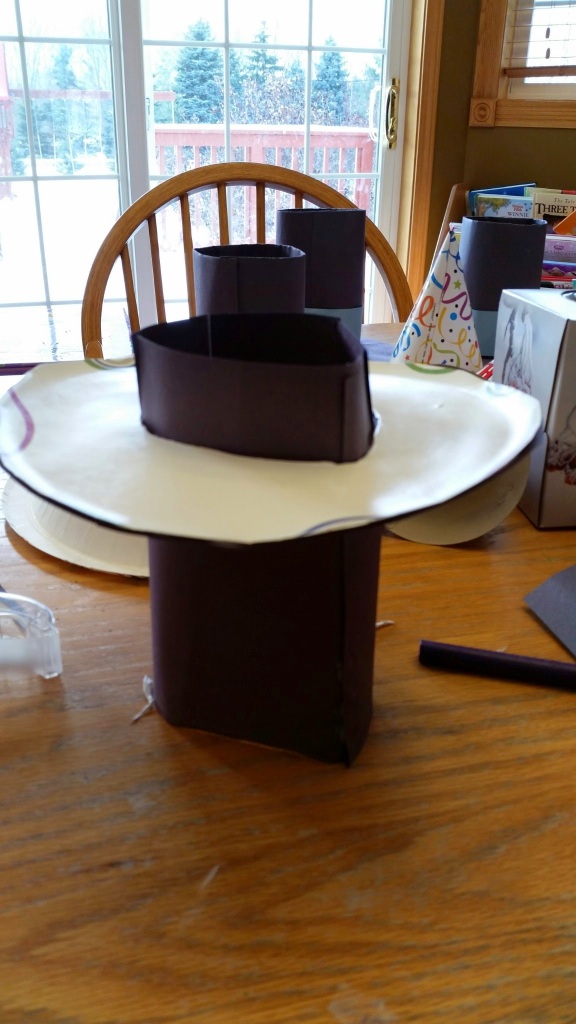
I decided to just glue black paper on instead; much faster. However I ran into a problem when I assembled it: the paper I was using was smaller than the one the lady used in the video and I had cut the hole in the plate too small, so my first hat looked horribly disproportionate.

Yuck.

Yuck.

I don’t care if this is just for a stupid game at a kid’s party–I can’t stand behind something that looks that ugly. So I cut the hole in the plate to be a bit bigger and cut the circumference of the plate, and it looked much better!

If you are wanting to make these and are using regular construction paper instead of the jumbo sized kind like the one in the video, here’s the way I found worked best in making these.

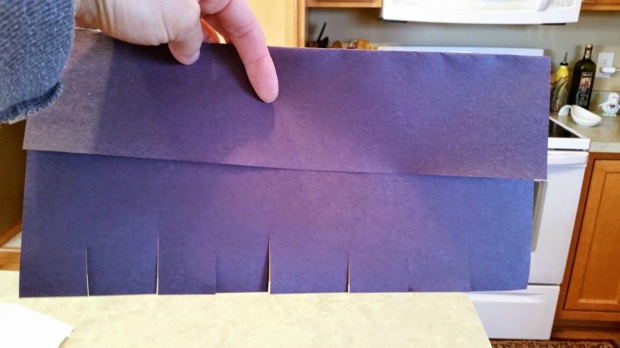
First, fold the paper about a 1/3 of the way down lengthwise and cut fat fringe at the bottom:


wpid-wp-1416365200616.jpegThen, tape down the folded side (great part for the kids to help with):

wpid-wp-1416365188556.jpeg

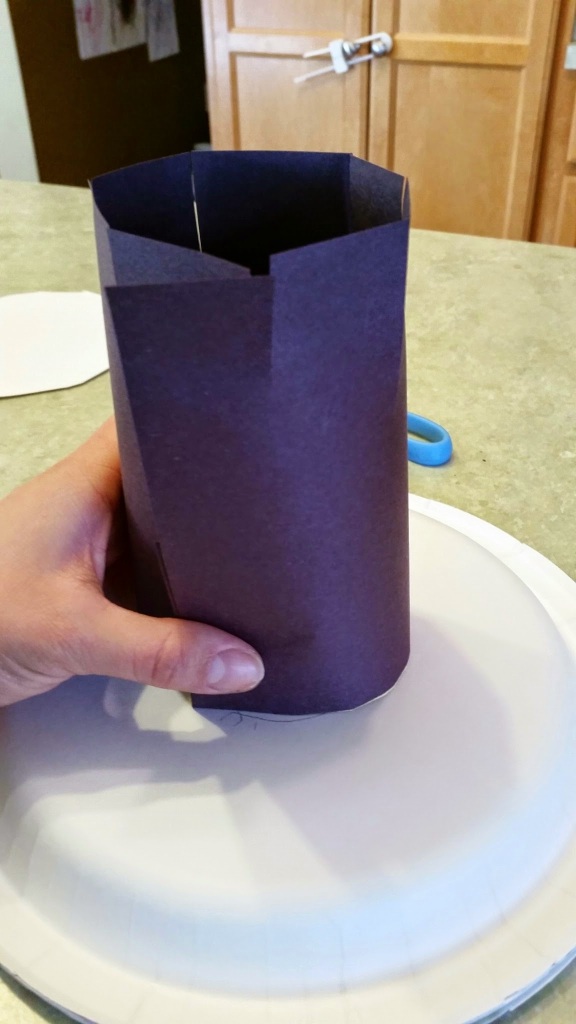
Next, glue one end of the paper to the other, making a cylinder shape. Make sure to have the taped side facing in. Then, trace the outline of the end of the cylinder in the middle of a paper plate (make sure the plate is upside down):

wpid-wp-1416365192113.jpeg


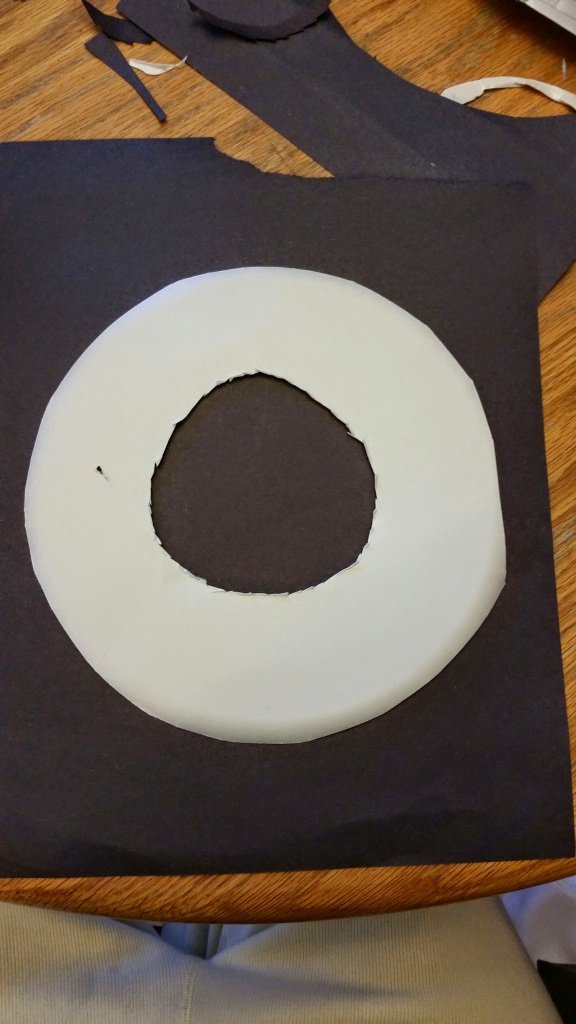
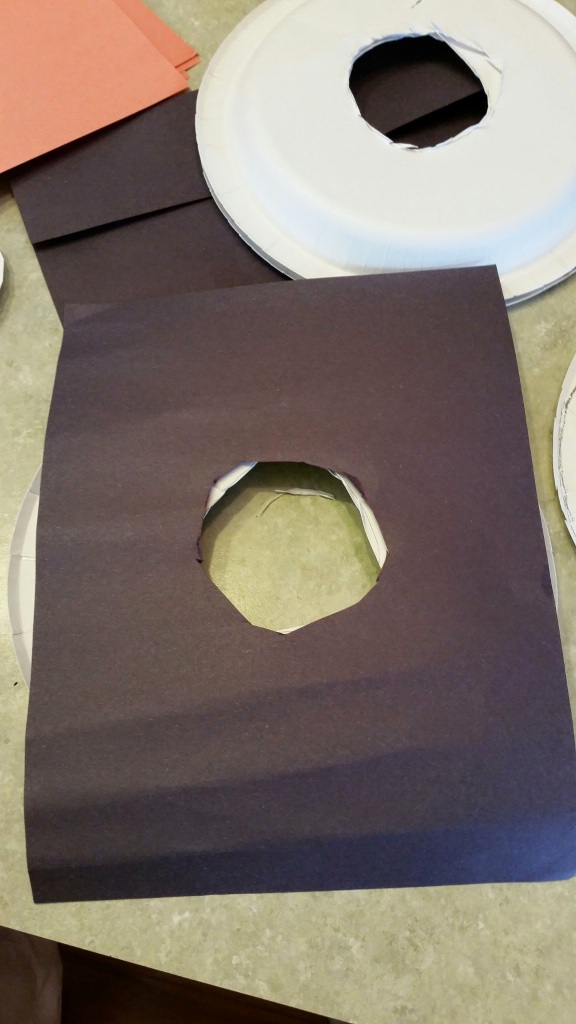
Cut that circle out of the plate, and cut the rim of the plate off as well. Next, center the plate on a piece of black construction paper, and trace around the hole. Cut that circle out of the paper.

wpid-wp-1416365198636.jpeg

Put glue (I used tacky glue, but a glue stick or white Elmer’s glue would probably work too) over the entire surface of the plate, and then stick the paper on, being careful to line up the holes. Cut the excess paper off.

wpid-wp-1416365184235.jpeg

Then shimmy the cylinder inside the plate, leaving the fringed end on the white side of the plate. Tape down the tabs to secure the cylinder to the plate.

wpid-wp-1416365195335.jpeg

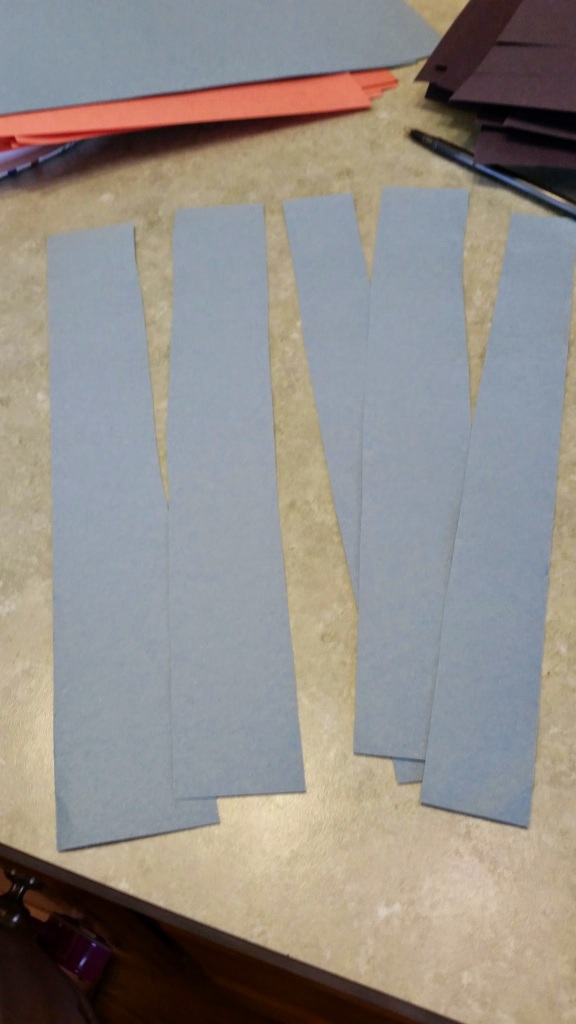
Next, cut a piece of blue construction paper lengthwise into 5 strips.

wpid-wp-1416365178812.jpeg

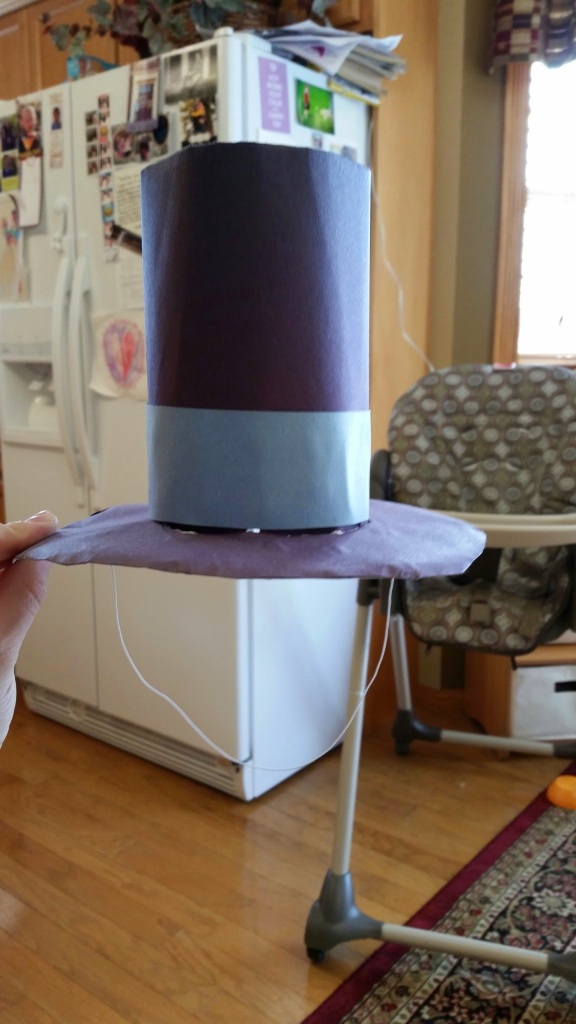
Cover the entire length of one strip with glue, and carefully place along the bottom of the cylinder, just resting on top of the plate.

I bought two 8 packs of party hats at Party City for $1 each (they are also sold at the Dollar Store), just to use the strings. Remove the string off of a party hat and tape to the inner rim of the snowman “hat”. Voila! An adorable paper top hat, worthy of a snowman.

wpid-wp-1416365181848.jpeg

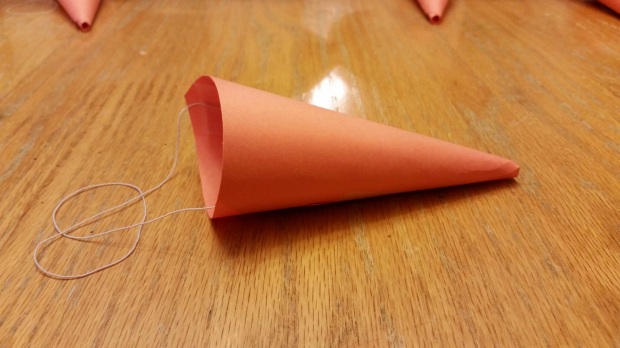
Next for the carrot noses. My husband actual helped me with these. He cut a piece of orange construction paper in half width wise. Then he rolled them into cones and taped them down. I then cut the open end to make them a bit smaller. I again stole a string off a party hat and taped the ends to the inside of the “nose”.

wpid-wp-1416365183638.jpeg

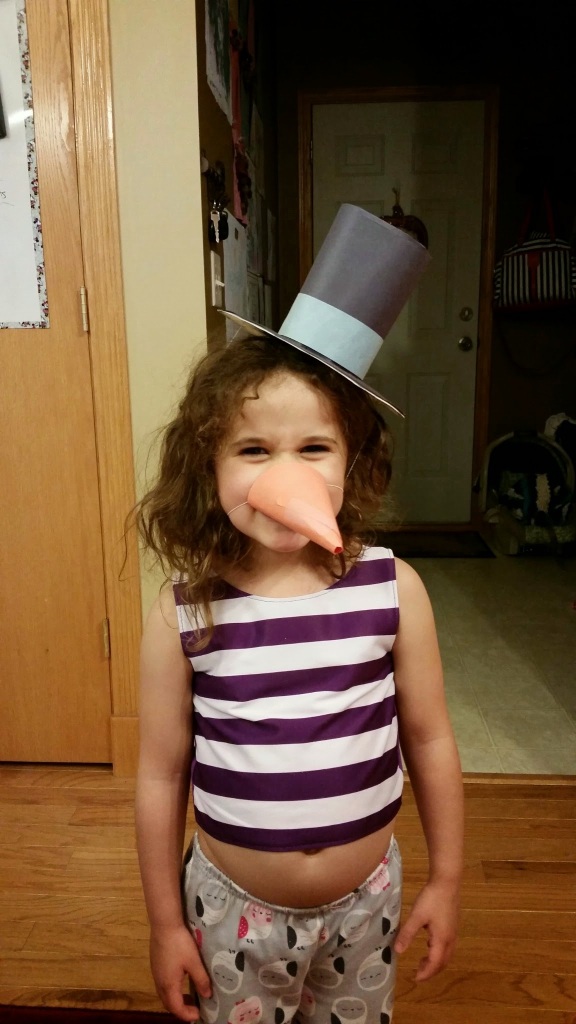
Eowyn tried them on, just to make sure they fit right.

wpid-wp-1416365181615.jpeg

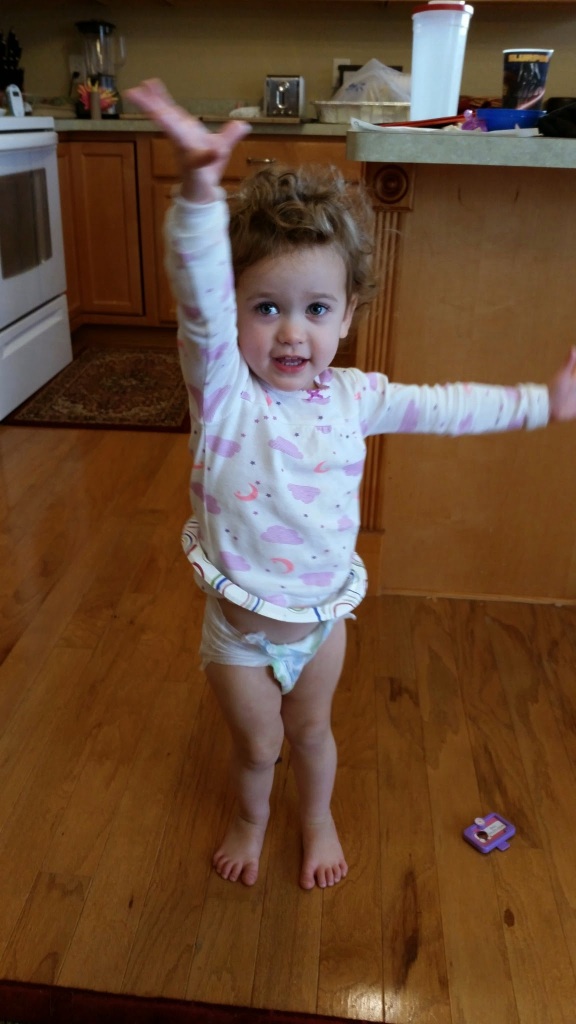
Meanwhile, Ary made a skirt out of the scrap rim of a plate and danced around.

wpid-wp-1416365186847.jpeg

I think this game will be a hit! The best part is that the only thing I needed to buy for this project was the birthday hats, so this cost a whopping $2.

So, what do you think–

wpid-wp-1416365050025.jpeg


Frozen Birthday Party Prep: Marshmallow/Troll Bowling and an Ugly Pinata

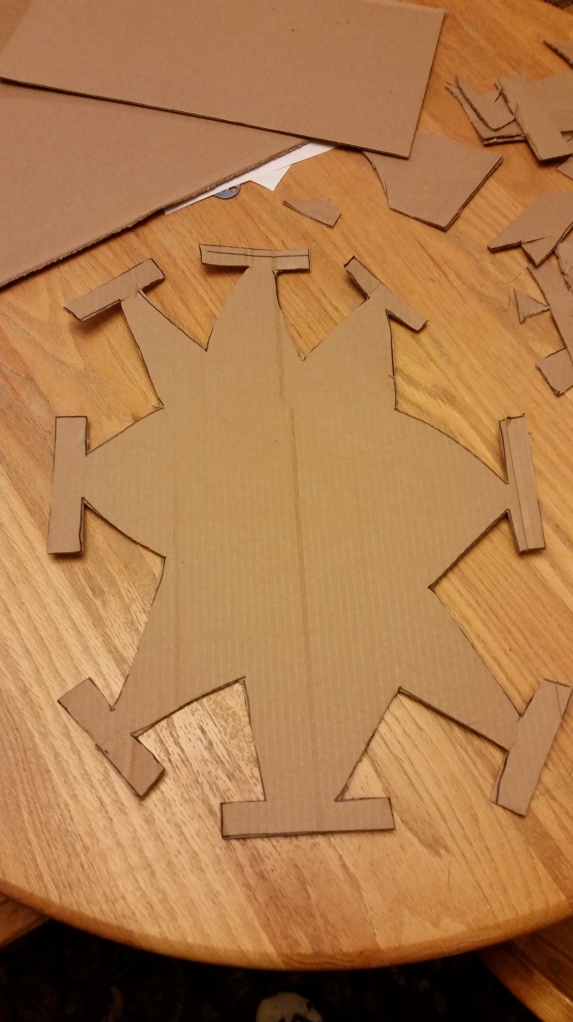
I went to place the balloon order a couple of days ago. I had intended to also buy the pinata while I was there because Party City is a 20 minute drive one way and it’s hard getting out of the house with a newborn, a toddler, and a pre-schooler. But Laurelyn was fussing which made me panic and I was so focused on placing the balloon order and getting out of there that I completely forgot about the pinata. The idea of trekking out in the snow with all three kids was so awful to me that I decided it would be less stressful to just make my own pinata. Plus I would save money doing it myself. How hard could it possibly be to carve a snowflake shape out of cardboard?

The answer: it’s really hard. I spent about 40 minutes trying to draw the shape out on paper, with zero success. But before throwing in the towel completely I tried cutting it out on cardboard. The result was just plain ugly:

wpid-20141113_174852.jpgEowyn, God bless her, insisted that it was a beautiful snowflake. But let’s be real here–it’s a hot mess. I promptly threw that mess out and called Party City to see if they even had Frozen pinatas in stock. They have 9, so I’m going to head over there this weekend and gladly hack up the $20 for a ready made one.

Tyler–you were totally right. It wasn’t worth it. See? I can totally admit when I’m wrong.

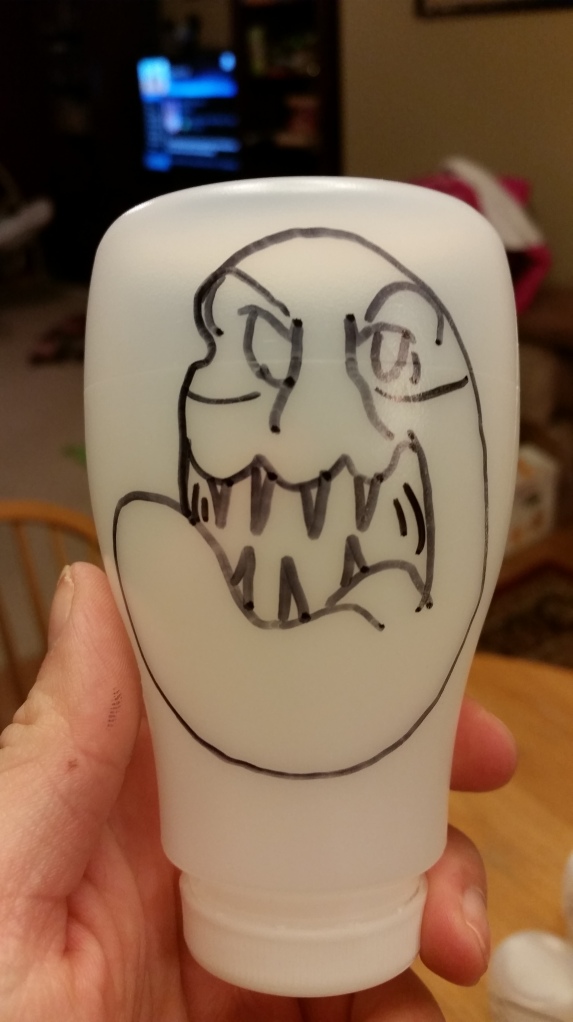
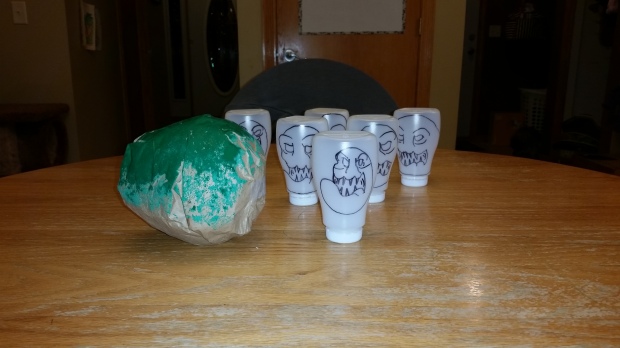
With there being so much to do, I couldn’t let the day go by without getting at least one thing accomplished. So even though it was 7:30 at night, I banged out a game of my own invention: ‘Marshmallow/Troll Bowling’.

For those of you who haven’t seen Frozen a gagillion times, ‘Marshmallow’ is the name that Olaf bestows on Elsa’s evil snowman. I saw this Frozen inspired Olaf/Troll bowling game on Pinterest, but wanted to use a character other than Olaf. Don’t get me wrong–Olaf’s awesome. But he’s cropping up in a lot of my decor/food ideas and it’s not an Olaf party; it’s a Frozen party. Since it’s a bowling game, I thought it would be better to have a villain on the pins and that’s when I remembered Marshmallow.

Instead of using tissue boxes to create the body of the character like in the inspiration post, I opted for a more traditional bowling pin look and used cleaned out chocolate milk containers from Happy Meals (yes, my kids eat McDonald’s from time to time; get over it). I took my handy-dandy Sharpie to them, and voila! Marshmallow bowling pins.

wpid-20141113_194229.jpg

He proved to be more difficult to draw than Olaf, so none of them are perfect. The one pictured above is hands down the best one; there’s a few that even Eowyn said looked bad. I’m doing my best guys!

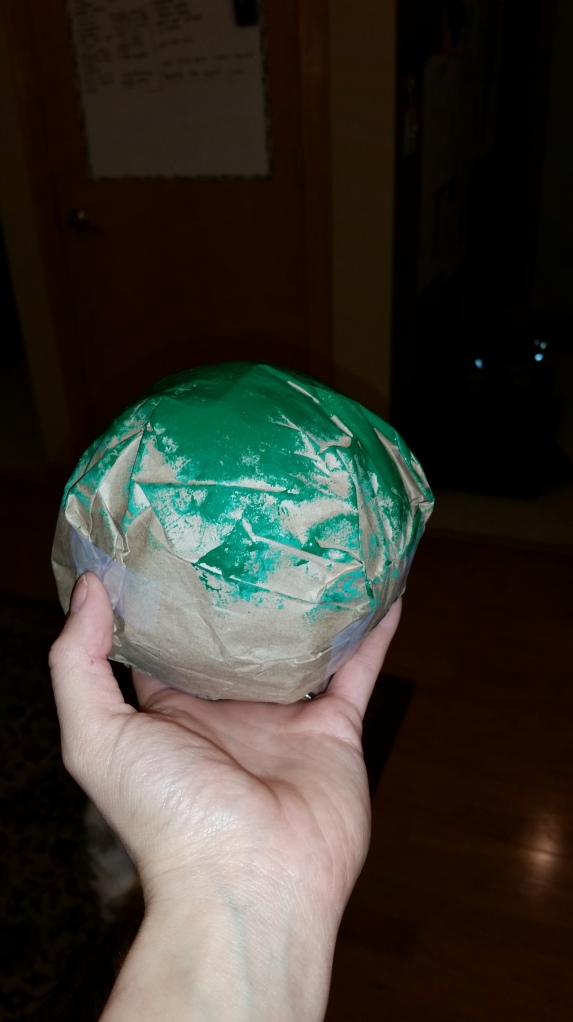
To make the Troll bowling ball, I took one of the girls’ play balls and put it inside a brown lunch bag. Then I taped it so it formed to the ball, and used a paper towel to dab green paint on top to look like the rock trolls from the movie.

wpid-20141113_195202.jpg

The only thing I had to buy for this was the paper bags, which I got a 100 pack of at Walmart for a few bucks. You can’t beat the price, and I know the kids will love it!

wpid-20141113_195358.jpg

Frozen Birthday Party Prep: Olaf Games
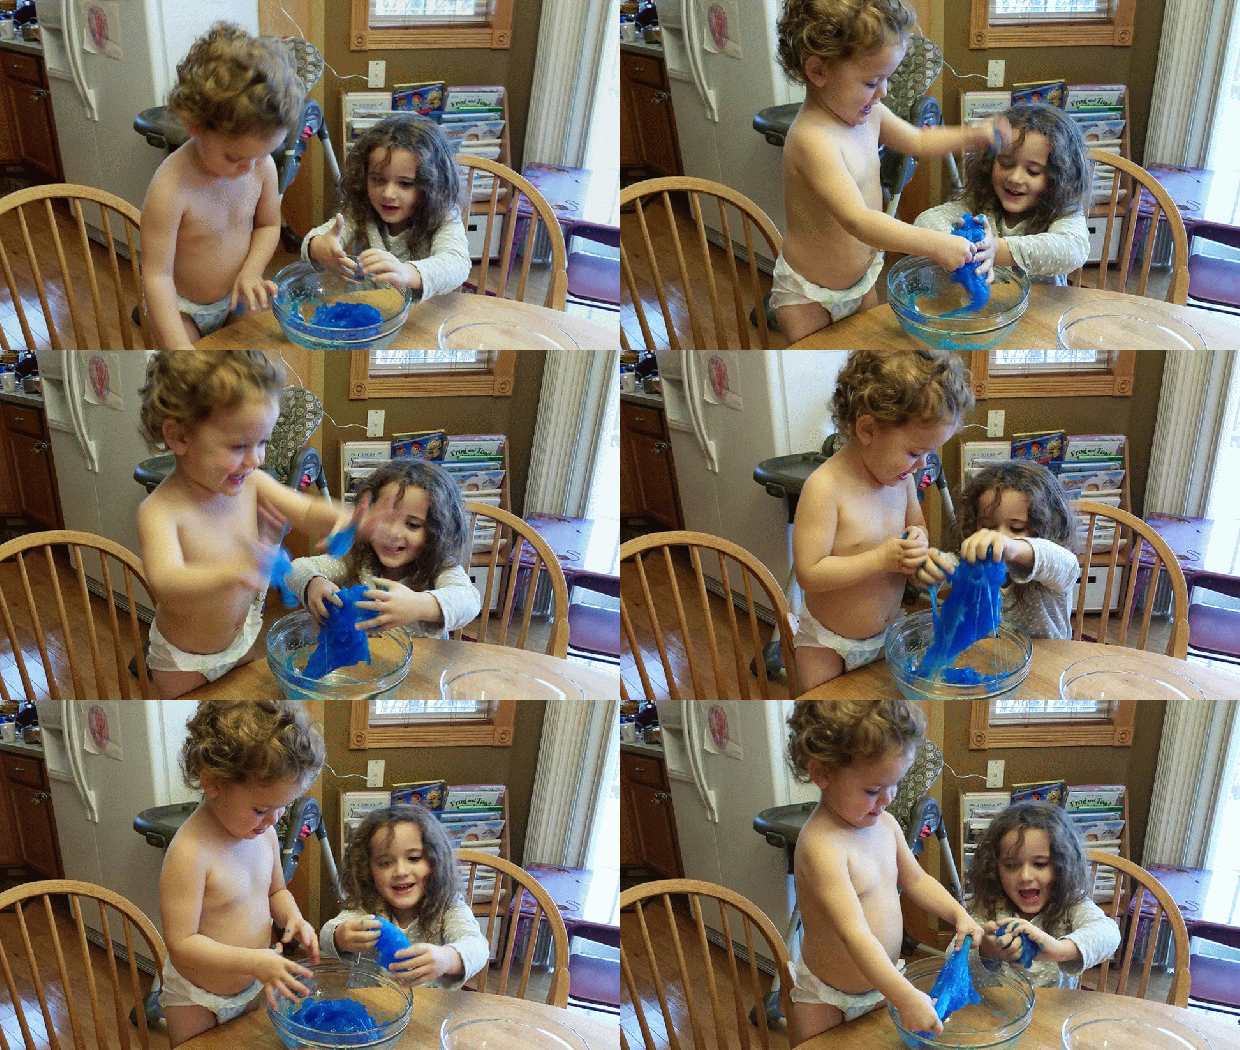
My oldest daughter, Eowyn, turns 4 on the 23rd. It happens to fall on a Sunday this year, so her party gets to be on her actual birthday again (last year it was on a Saturday). Since I was 38 weeks pregnant on Arya’s birthday, we decided to throw them a combination party on Eowyn’s birthday. The party is Frozen themed, which couldn’t be more perfect with the sister theme : ) Of course it wouldn’t be one of my parties if I didn’t do way too many crafts, and I’ve decided to share them with you as we make them. Notice how I said “we”? That’s right–I’m letting the toddlers help. Which can be hard because I lean towards the perfectionist side, but it’s so much more meaningful that we made everything together, rather than it looking Pinterest perfect.
So today’s Frozen crafts were for 2 of the party games: ‘Pin the Nose on Olaf’ and ‘Snow Ball Fight’.

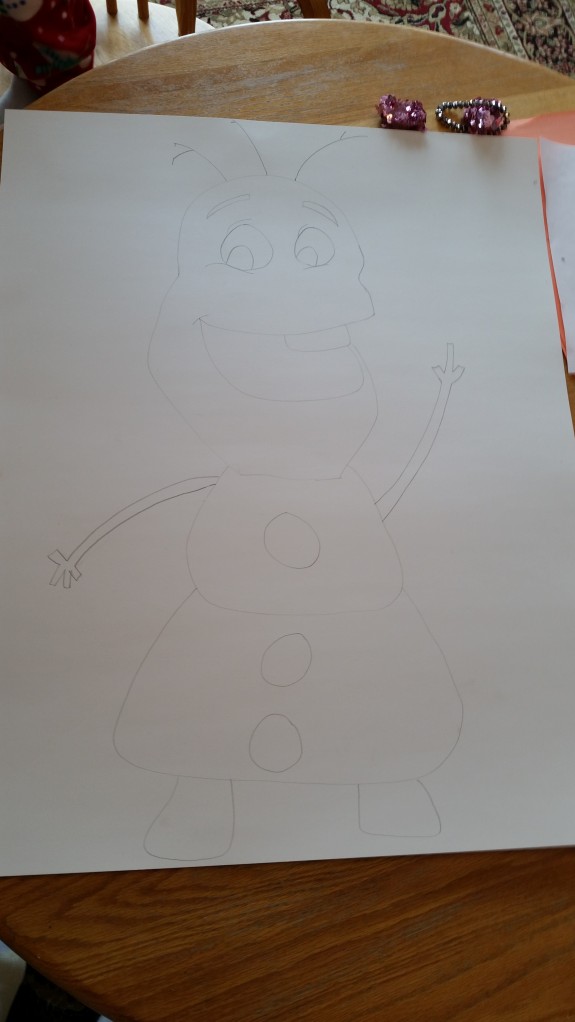
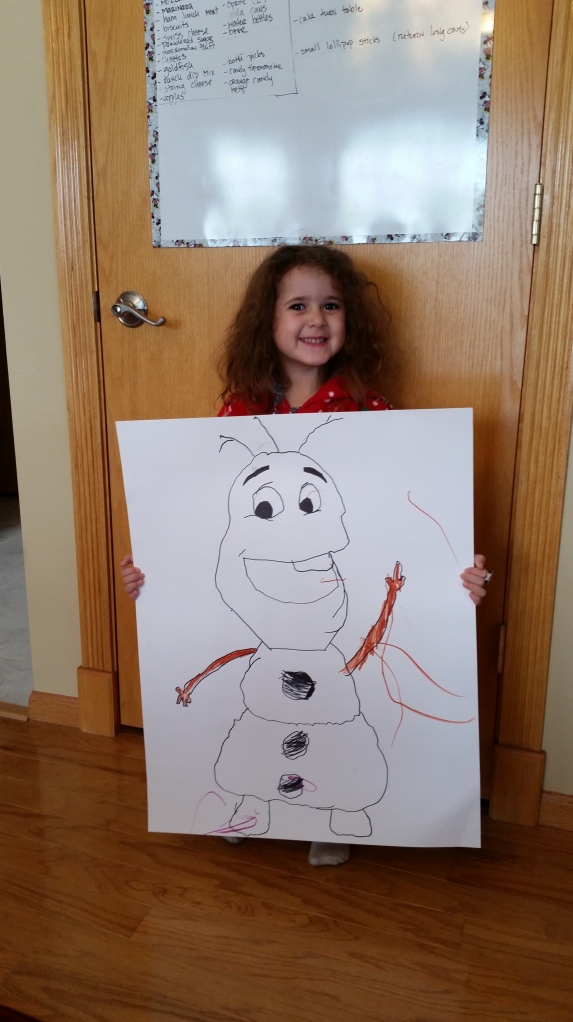
There’s a ‘Pin the Nose on Olaf’ game that you can buy online, but I’m cheap and knew that I could make it myself. I bought a poster board at Walmart for $.90, and all the other supplies I had at home. Although I don’t draw, Olaf is a very simple shape; I mean, he’s a snowman for goodness’ sake. I practiced on scrap paper, and once I was satisfied, I drew him out with pencil (so I could erase mistakes 50 times) on the poster board. Tip–the back of the poster erases much easier than the front.

My Olaf Pre-Toddler Invasion

My Olaf Pre-Toddler Invasion

Not too shabby. Obviously, I left the nose off because…that’s the whole point of the game.

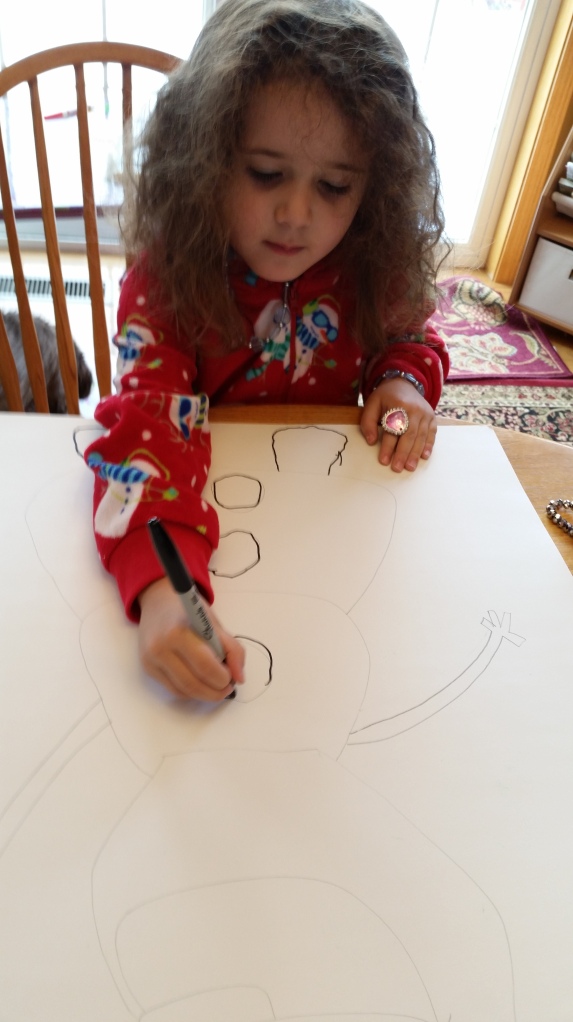
Then I handed over my Mona Lisa to my almost 4 year old to trace with a Sharpie.

wpid-20141112_101859.jpg

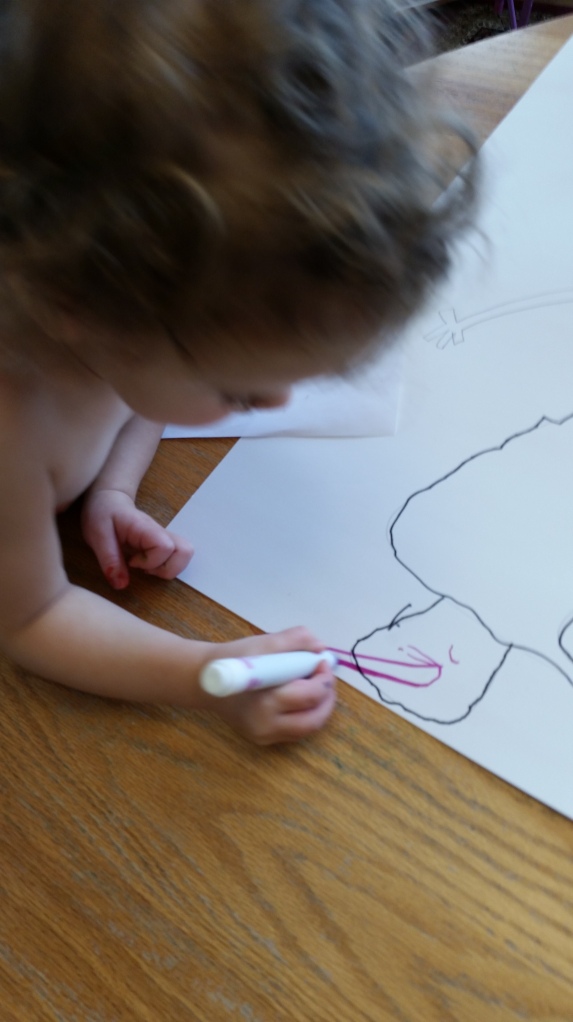
Ary started throwing a huge fit because she wanted to color Olaf too, so she added her own touch.


...

Good thing Olaf likes colors, because he has a pink foot now.

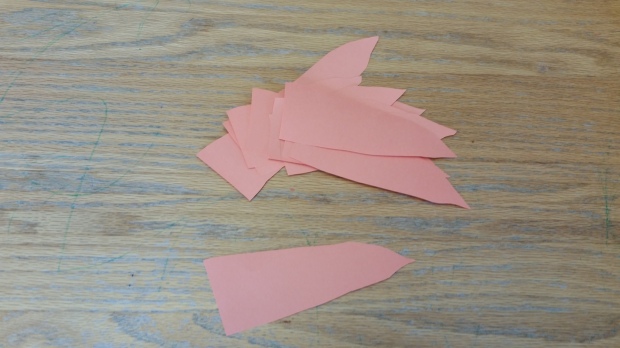
Then I made some carrot noses out of orange construction paper. To make sure they were all the same size I used the first one I made as a stencil for the rest.

wpid-20141112_110808.jpg

For the party, we’ll throw some scotch tape on the noses and voila! A homemade ‘Pin the Nose on Olaf’ game that cost a whopping $.90. Even if I wasn’t such a cheapskate though, I think I would still opt to make things myself, especially when my kids are involved. I just get so much more satisfaction out of things that I know I made with my own hands. Plus I get to teach my kids something new. Winning all around.

wpid-20141112_102929.jpg

Is it Pinterest perfect? No–it’s better, because my kids made it.

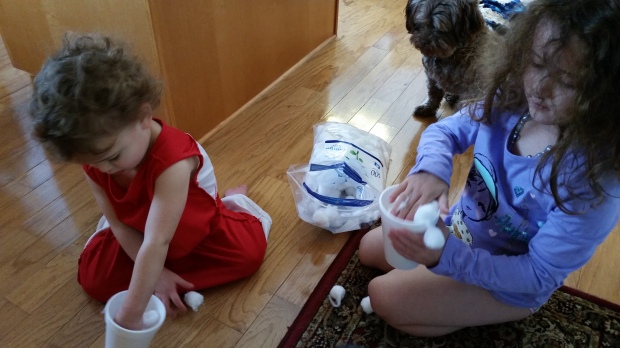
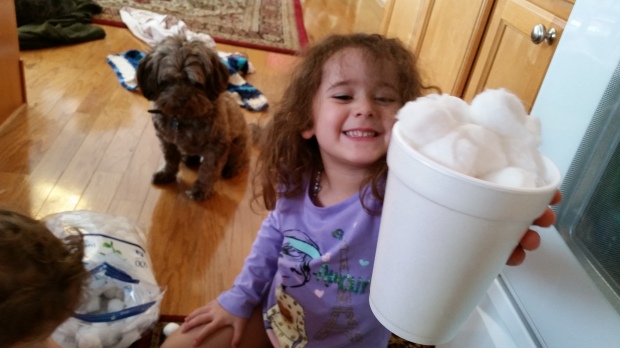
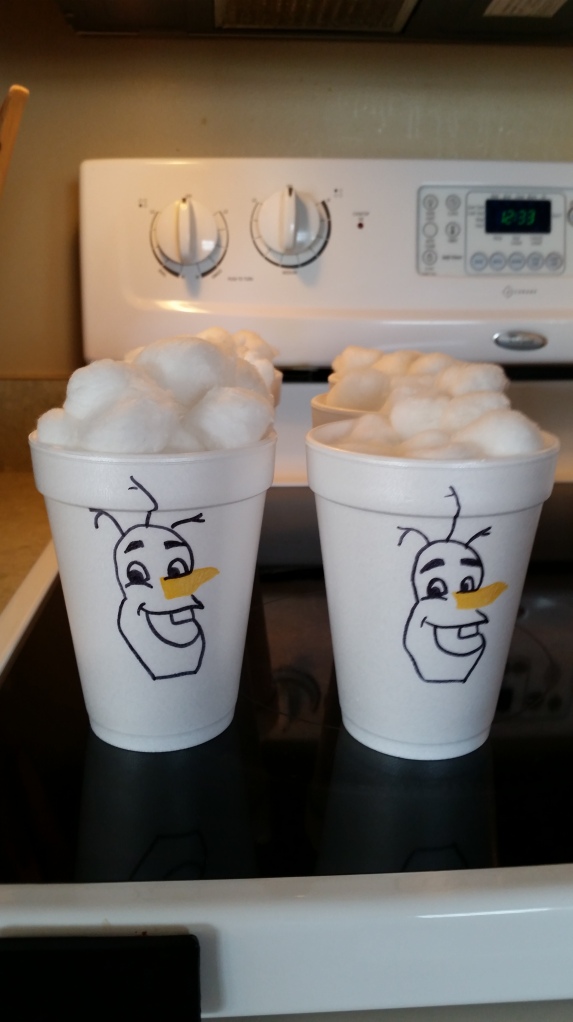
‘Snow Ball Fight’ is simple: give each kid a cup of cotton balls and let them have at each other! The kids and I played this last winter during polar vortex days when you’d get hypothermia if you looked out the window for too long, and we always had a blast. With the snow theme attached to Frozen, I thought it would be a great game for the party.

I was going to make these generic snowman cups that I saw on Pinterest, but once I realized how easy Olaf was to draw, I drew him on our cups instead. Then I let the kiddos fill them up with out “snow”.

wpid-20141112_123234.jpg

wpid-20141112_123240.jpg

Done : )

wpid-20141112_123411.jpg

I don’t know how many kids are coming yet, because I just barely got the invites out on Monday, so we filled up 6. The pack of styrofoam cups came with 20 (God, please don’t let 20 kids show up to this thing!), and I drew Olaf on all of them, figuring the extras can be for the adults to drink coffee from. I’ll probably write a quote on the coffee cups like, “I’ve always loved the idea of summer and sun and all things hot” or something.

The 20 pack of styrofoam cups was $.98 and the bag of cotton balls was $3.68 at Walmart. Just like that, you have a fun, under $5 party game that is sure to be a hit : )


Well, I’m off to go clean up the disastrous mess the toddlers made while I did these crafts.

Wait, scratch that–#2 is crying. I guess nap time is over.